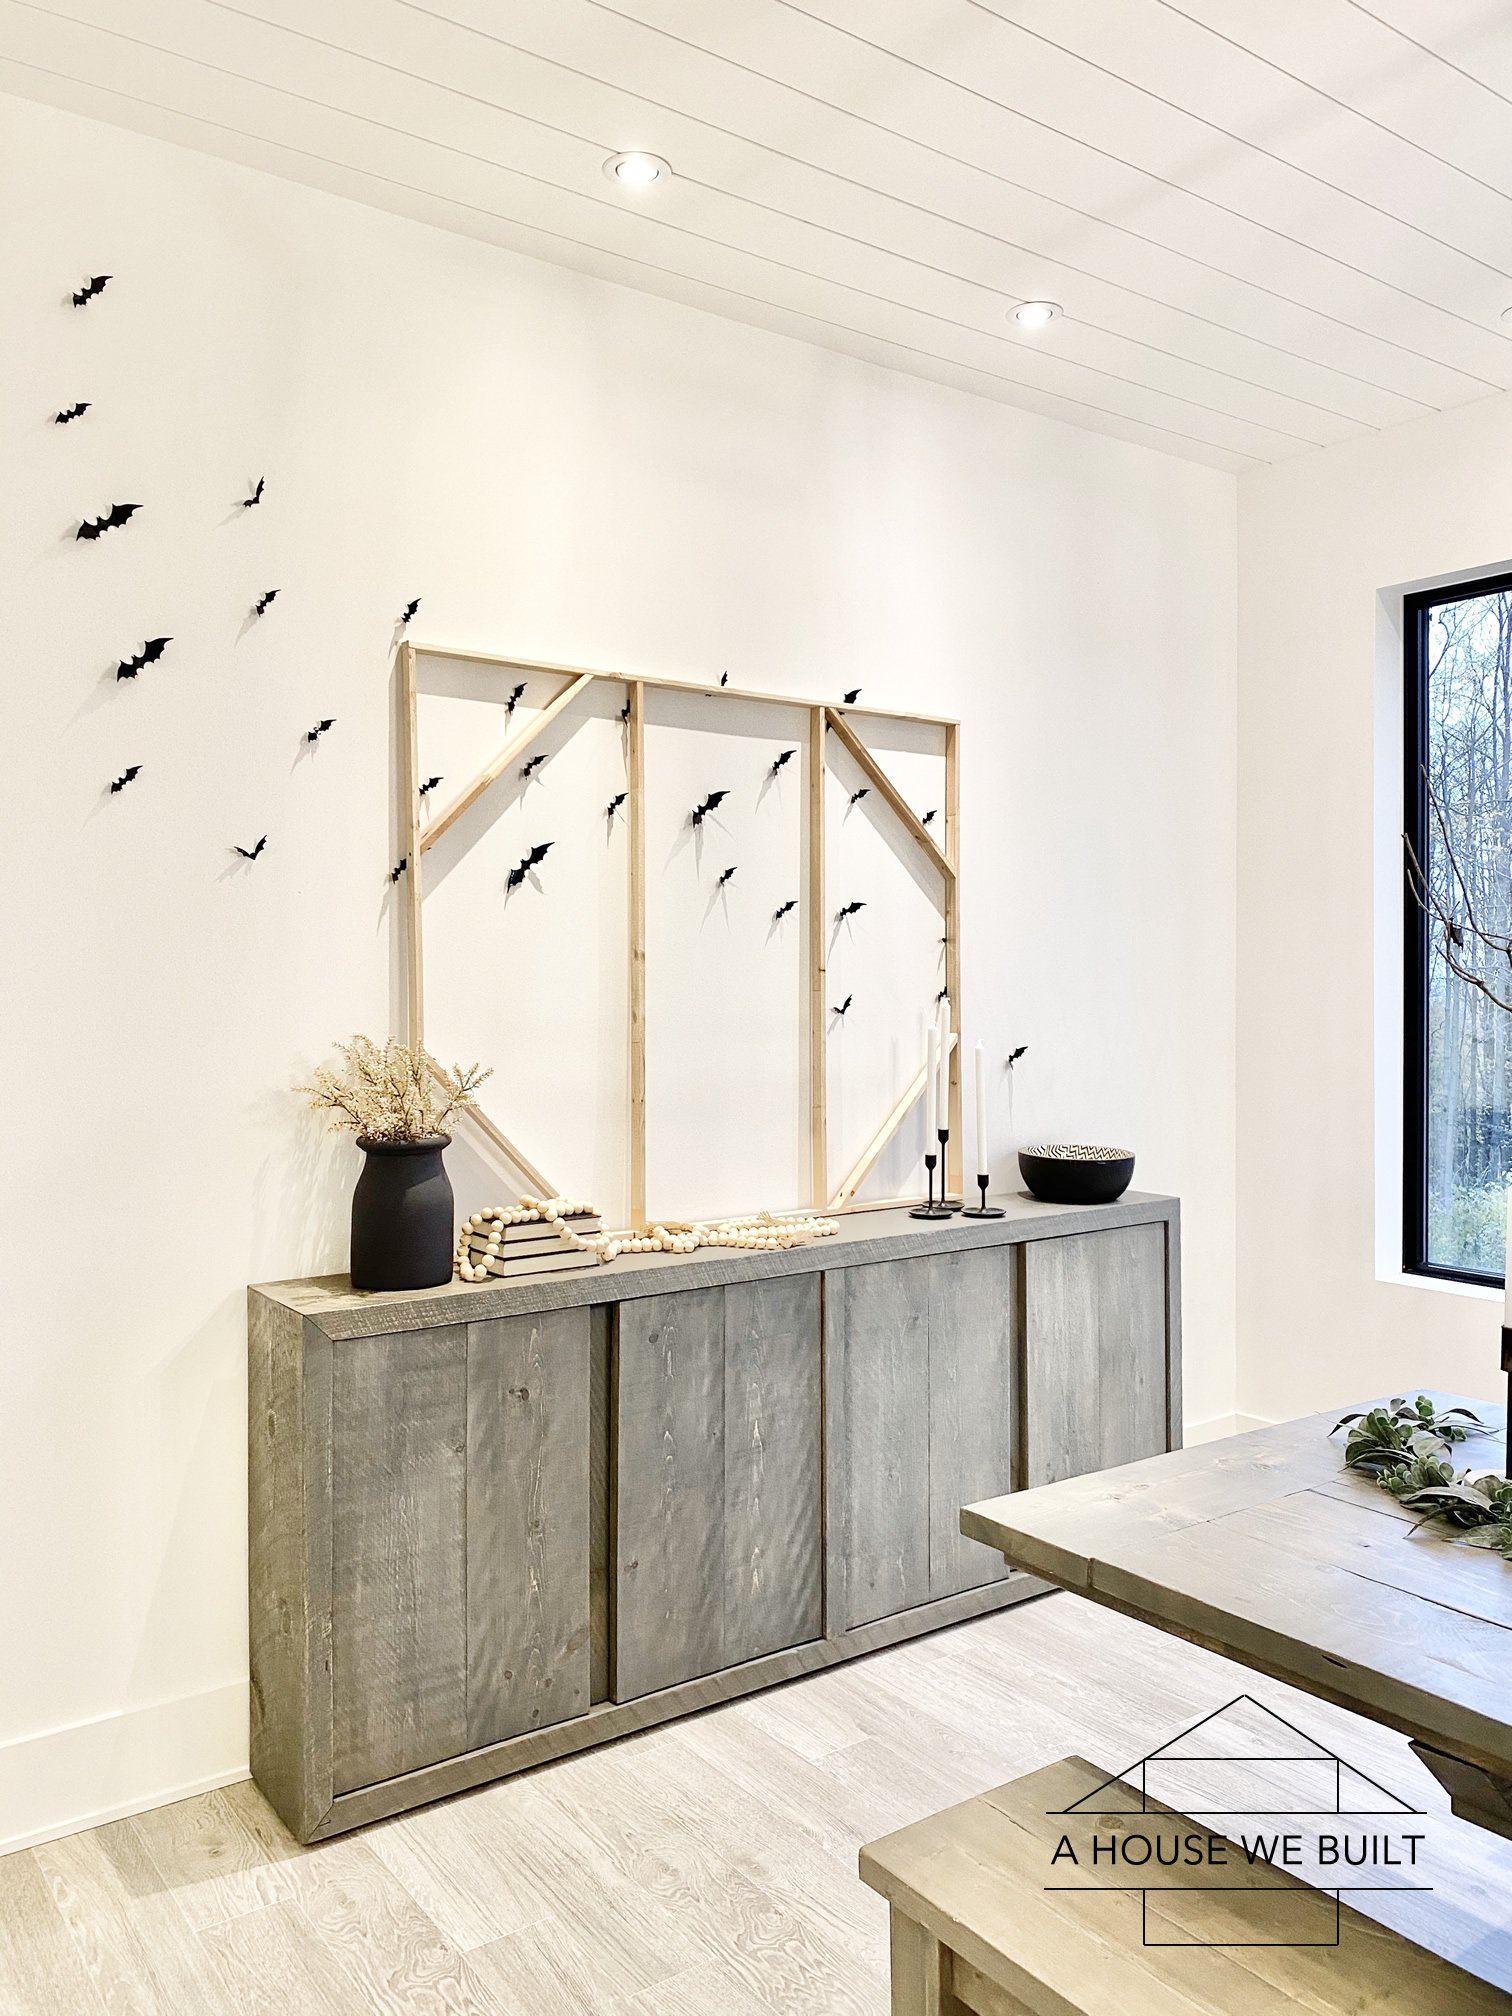
Wall Art Canvas for a Gray Texture Painted Wall
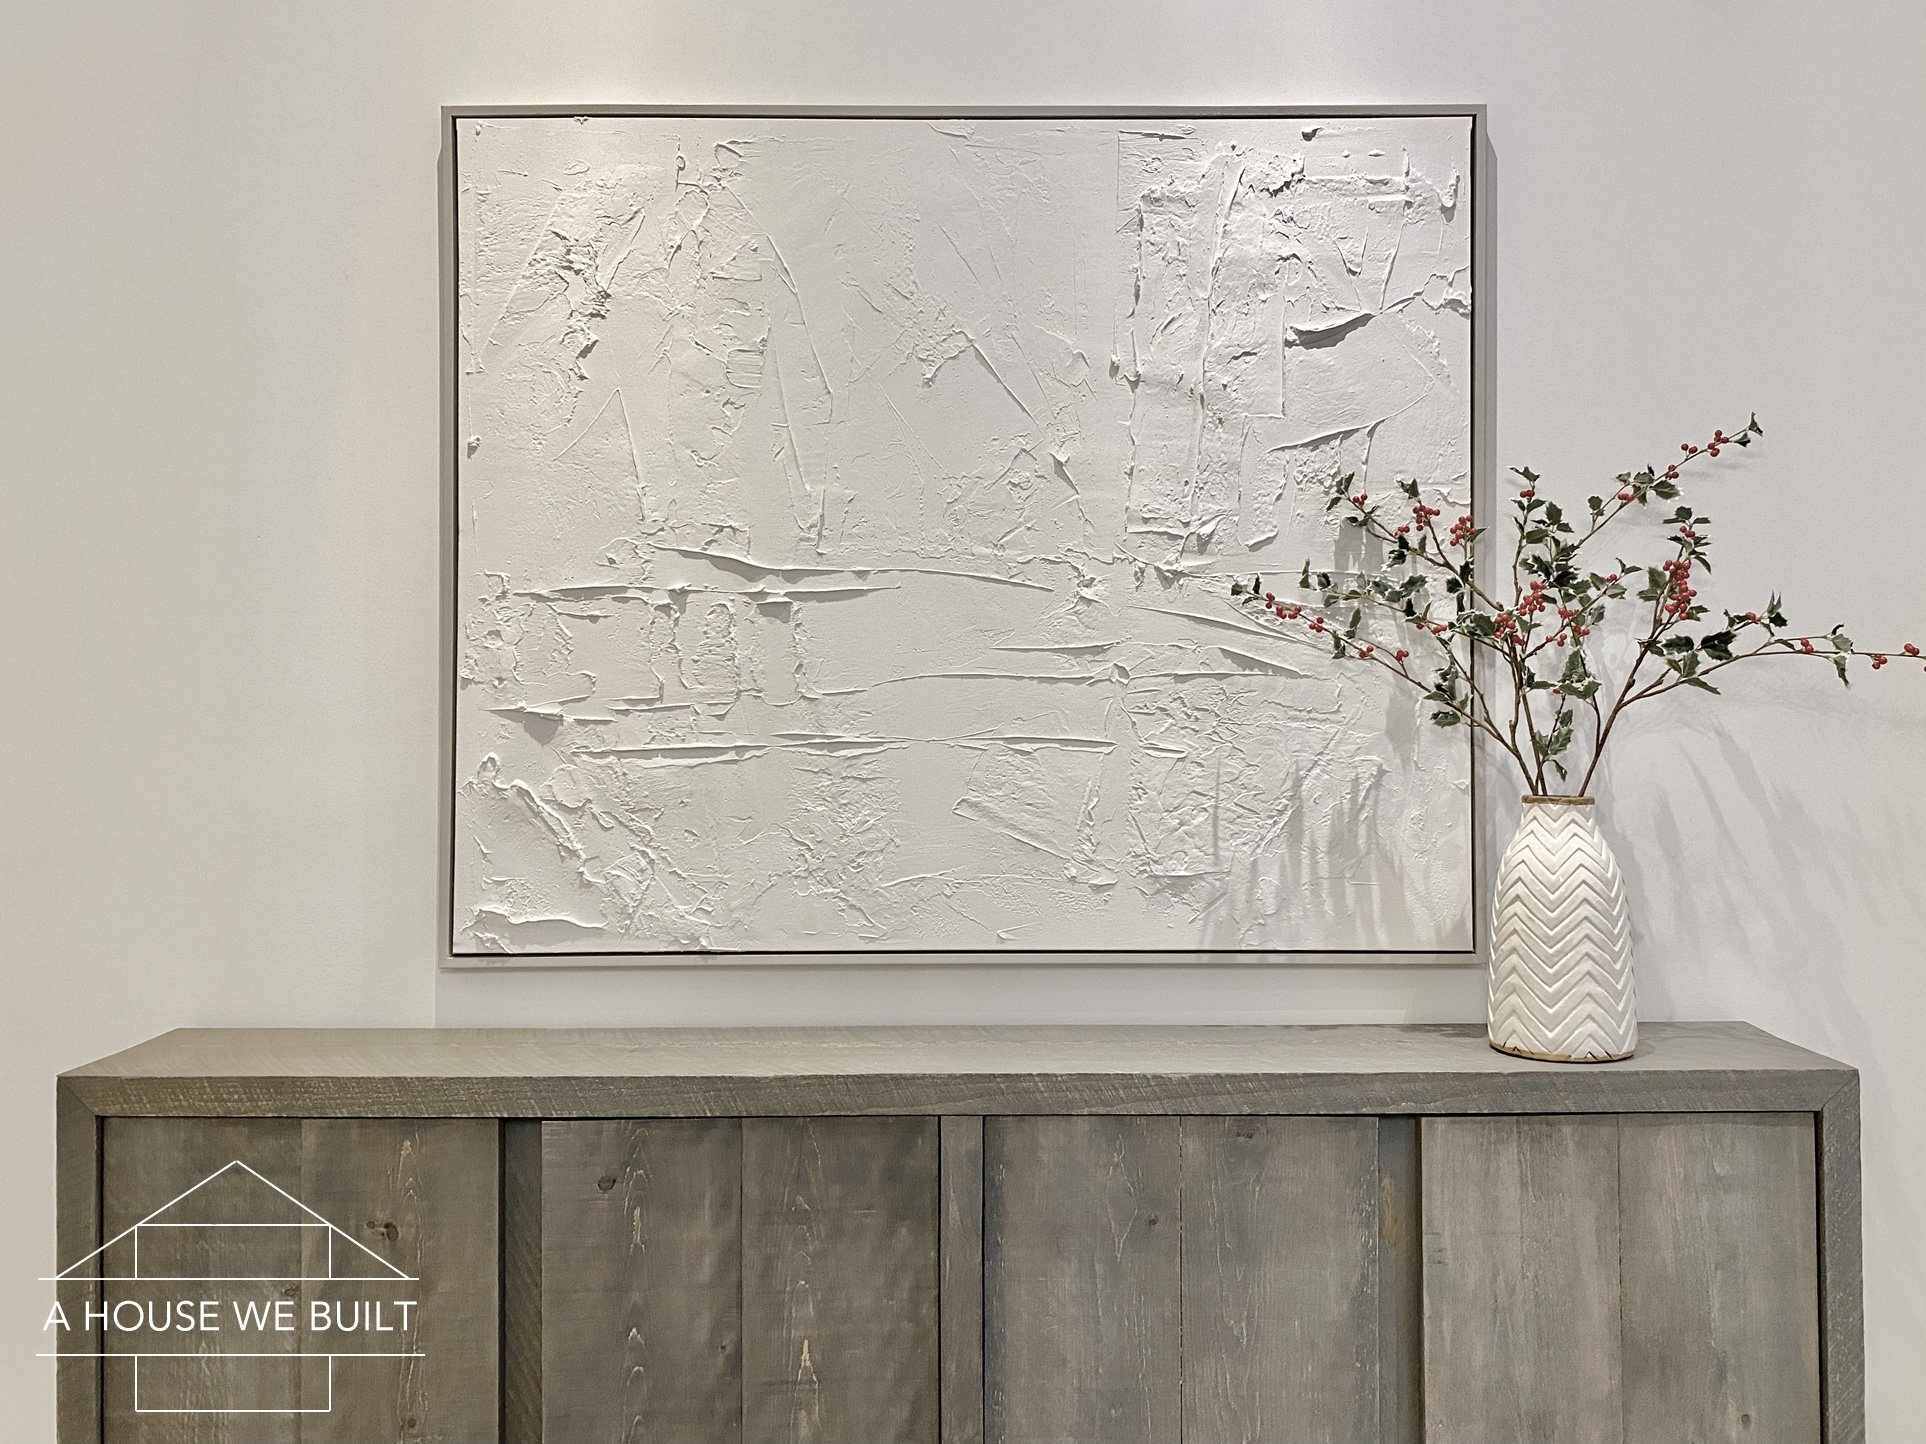
We fabricated a huge textured sail art piece for our dining room and I'grand going to show you how we did it!
I fabricated everything completely from scratch significant I built my ain canvas frame, I did my ain fine art, and I made the floating frame but you can as well skip function of these by buying a canvas frame or skipping the floating frame, then I've separated the tutorial into iii steps so you can skip downwards to whatever stride you want.
But if yous're not into DIY or merely not feeling super artistic, here are similar fine art pieces yous can buy ready-fabricated: McGee & Co (rectangular) | McGee & Co (square) | Crate & Barrel | Anthropologie | Pottery Befouled.

Ok so I literally made everything out of scrap wood and unused materials that were lying effectually my house but in instance you don't have these things on hand, I've tried to find sources for as much as I could.
STEP ane: HOW TO MAKE A CANVAS FRAME
Notation: if y'all don't want to make your ain canvas from scratch, you can totally but purchase one. I actually couldn't find one that was the size I wanted (5′ x 4′), simply depending on what size art you want to make, it may be easier to simply buy one. Here are a few that are very similar to the ones I fabricated:
- Canvass & frame gear up: Michaels | Amazon (largest I could find)
If you lot want to make your frame though, you'll demand these materials:
- 1×two wood: Home Depot (My canvas was v'x4′ so I needed 3 for the frame + i for supports)
- Cotton wool canvas textile: I got mine from a small fabric supply store a long time ago but I call up this is the same or similar: Amazon | Amazon.
Tools:
- Miter saw: Home Depot
- Heavy duty staple gun: Dwelling house Depot
- Locking pliers: Home Depot
- Screwdriver & screws if your canvas is large
- Nailer & nails if your canvas is smaller
Instructions for making the frame:
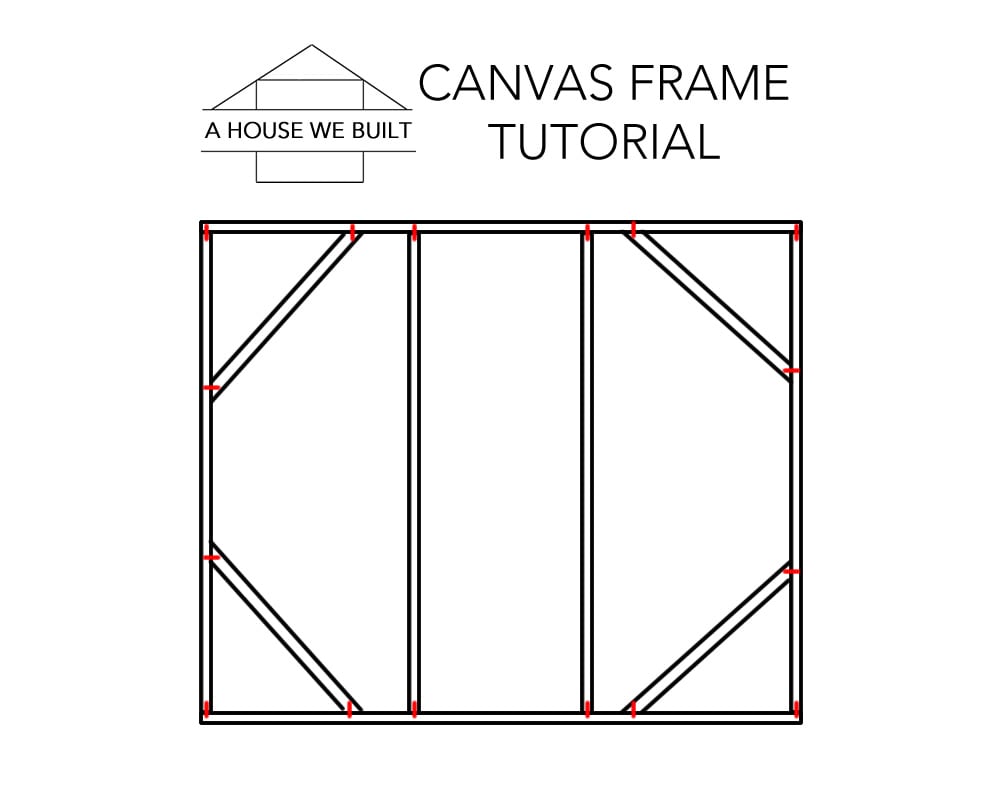
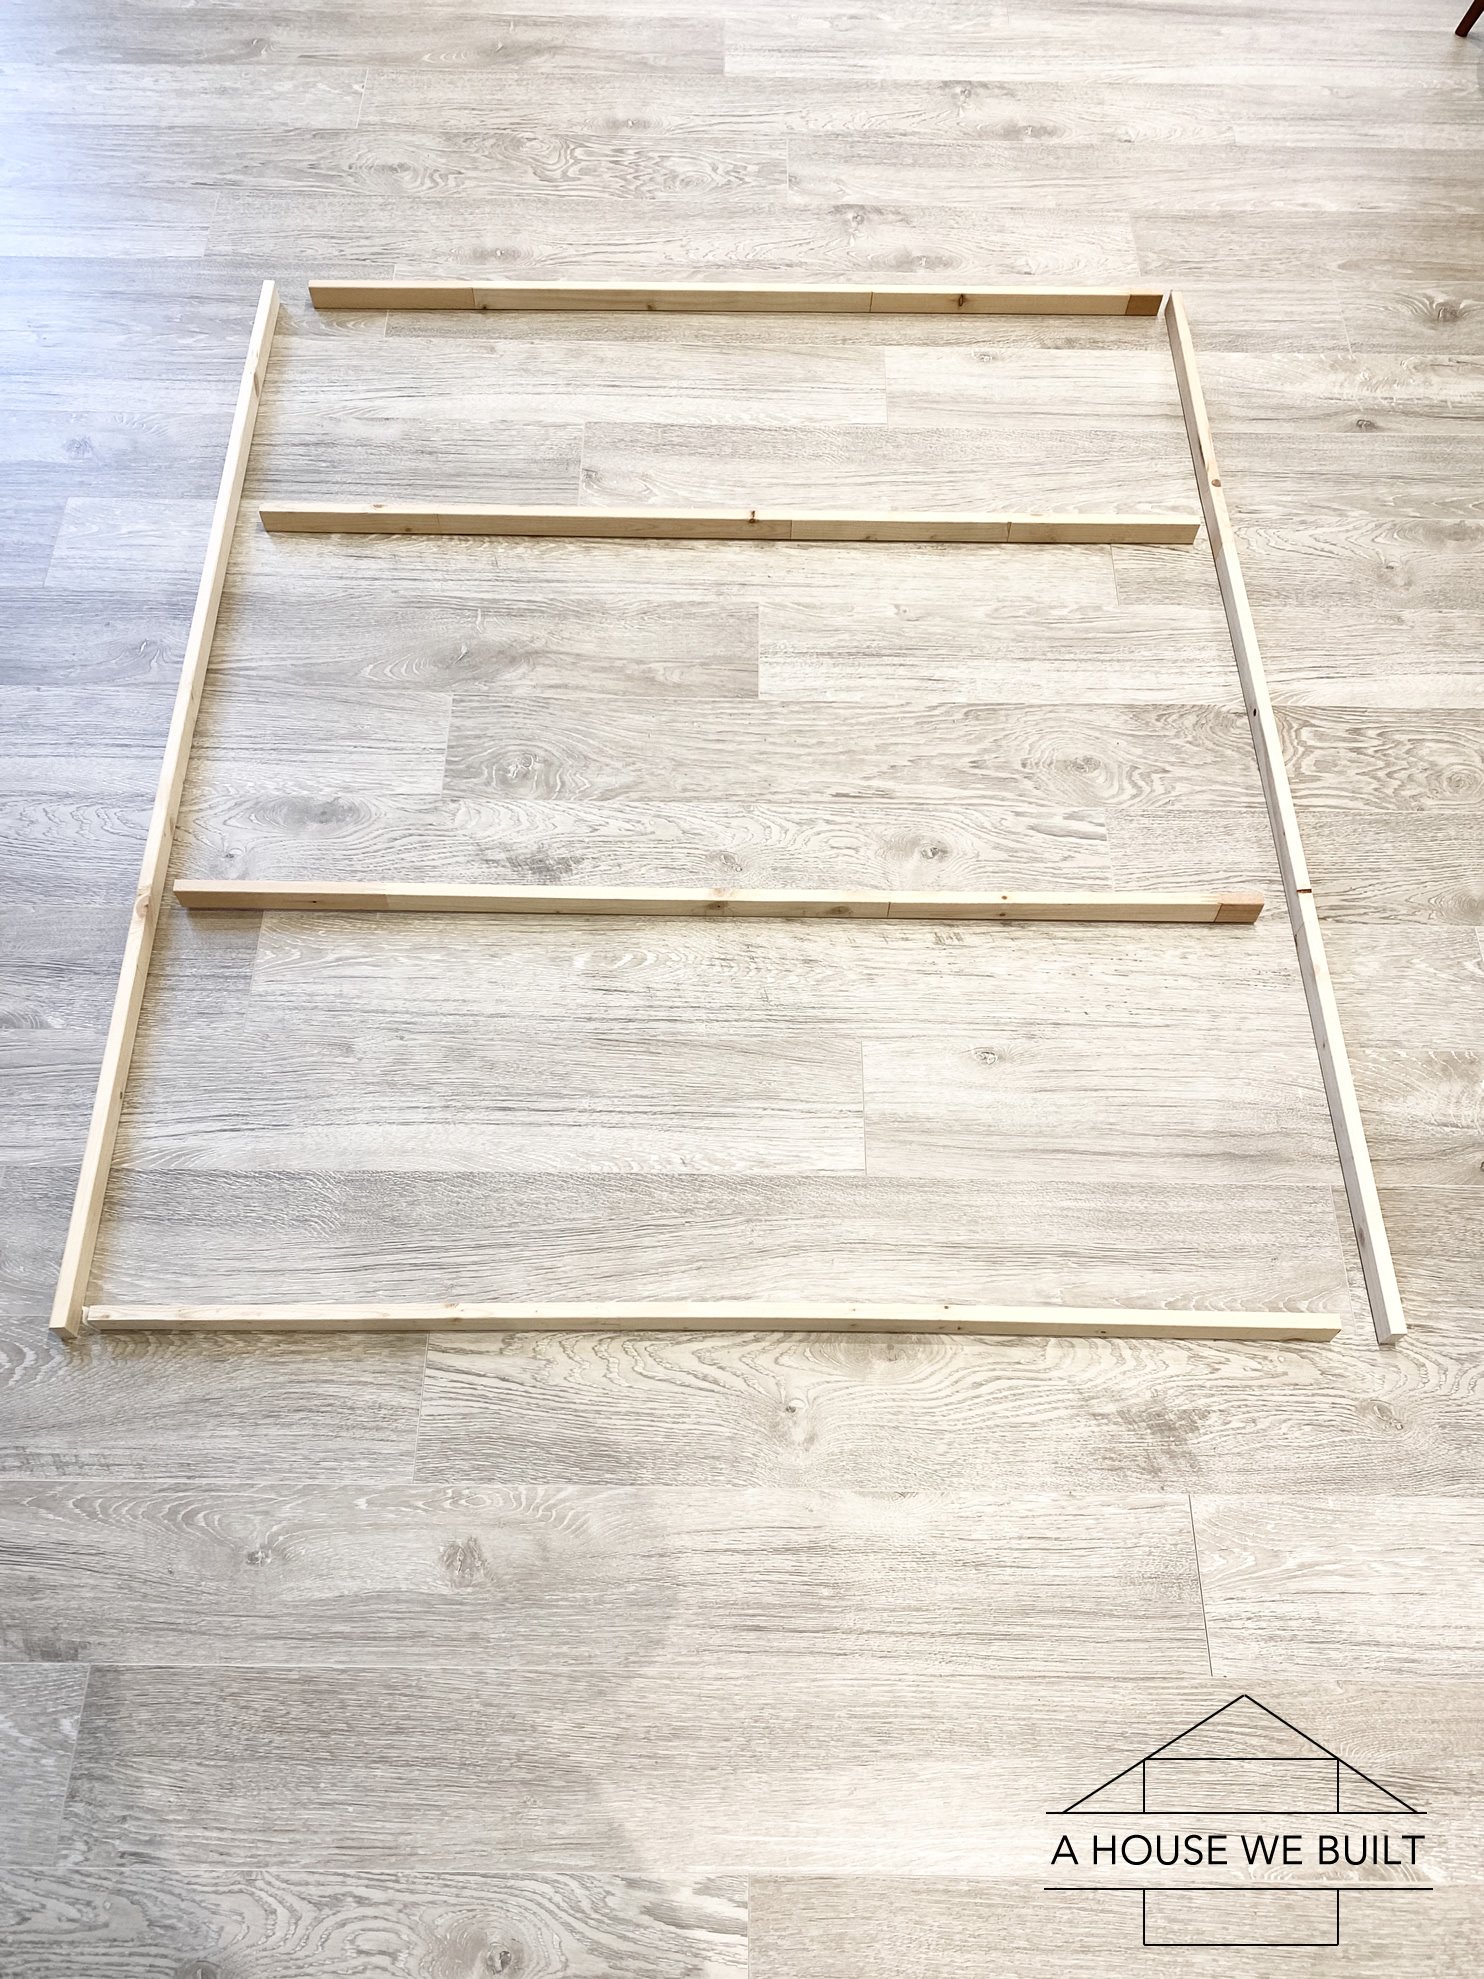
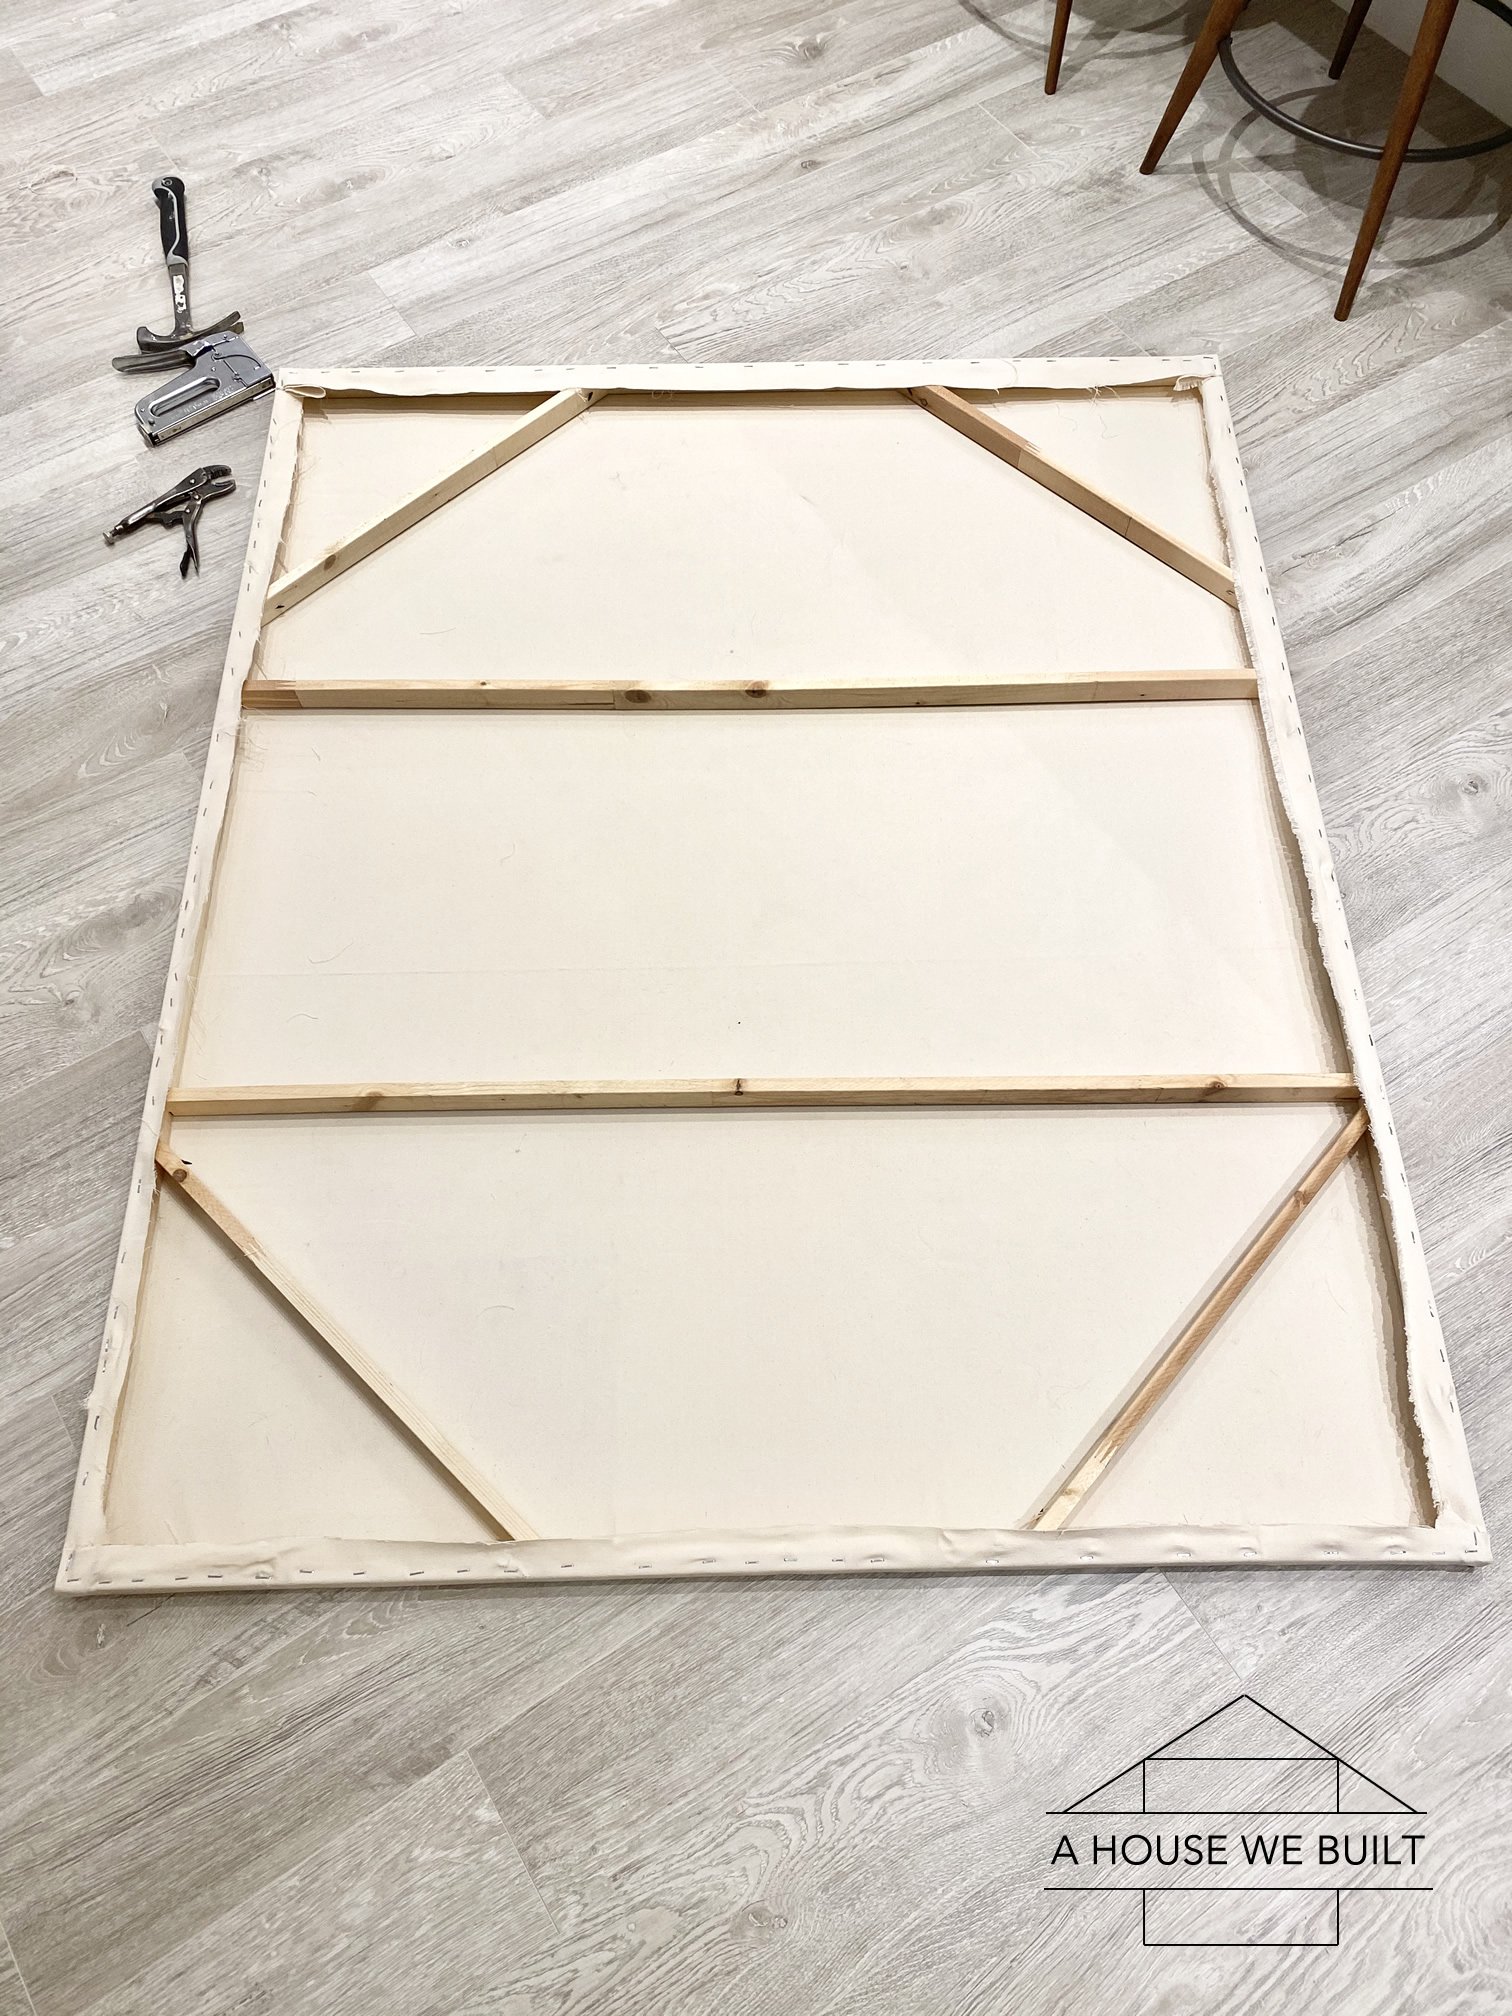
- Determine how large you want your canvas to be. I wanted mine to be about 5ft x 4ft so I cut two 1x2s down to sixty″ each and some other one in half (two 48″ pieces) and used that for the exterior frame. If you have a small frame, then yous tin go away with but trivial diagonal support pieces in the corners, but if your frame is equally large as mine or larger, and then you'll as well need additional back up pieces and so I too cut an additional 1×2 in half to create 2 more than support pieces. Then I used the cut-offs from the two 1x2s that I got the 60″ pieces from to create diagonal support pieces. The exact sizes don't actually matter as long as they functionally back up the frame. And so in total I needed:
– 2 10 lx″ lengths
– four x 48″ lengths
– 4 x diagonal support pieces with 45* corners so that it could brace against the outside frame - Using pilot holes & screws, assemble your frame starting with the iv exterior frame pieces, then interior vertical supports, and finally the diagonal supports.
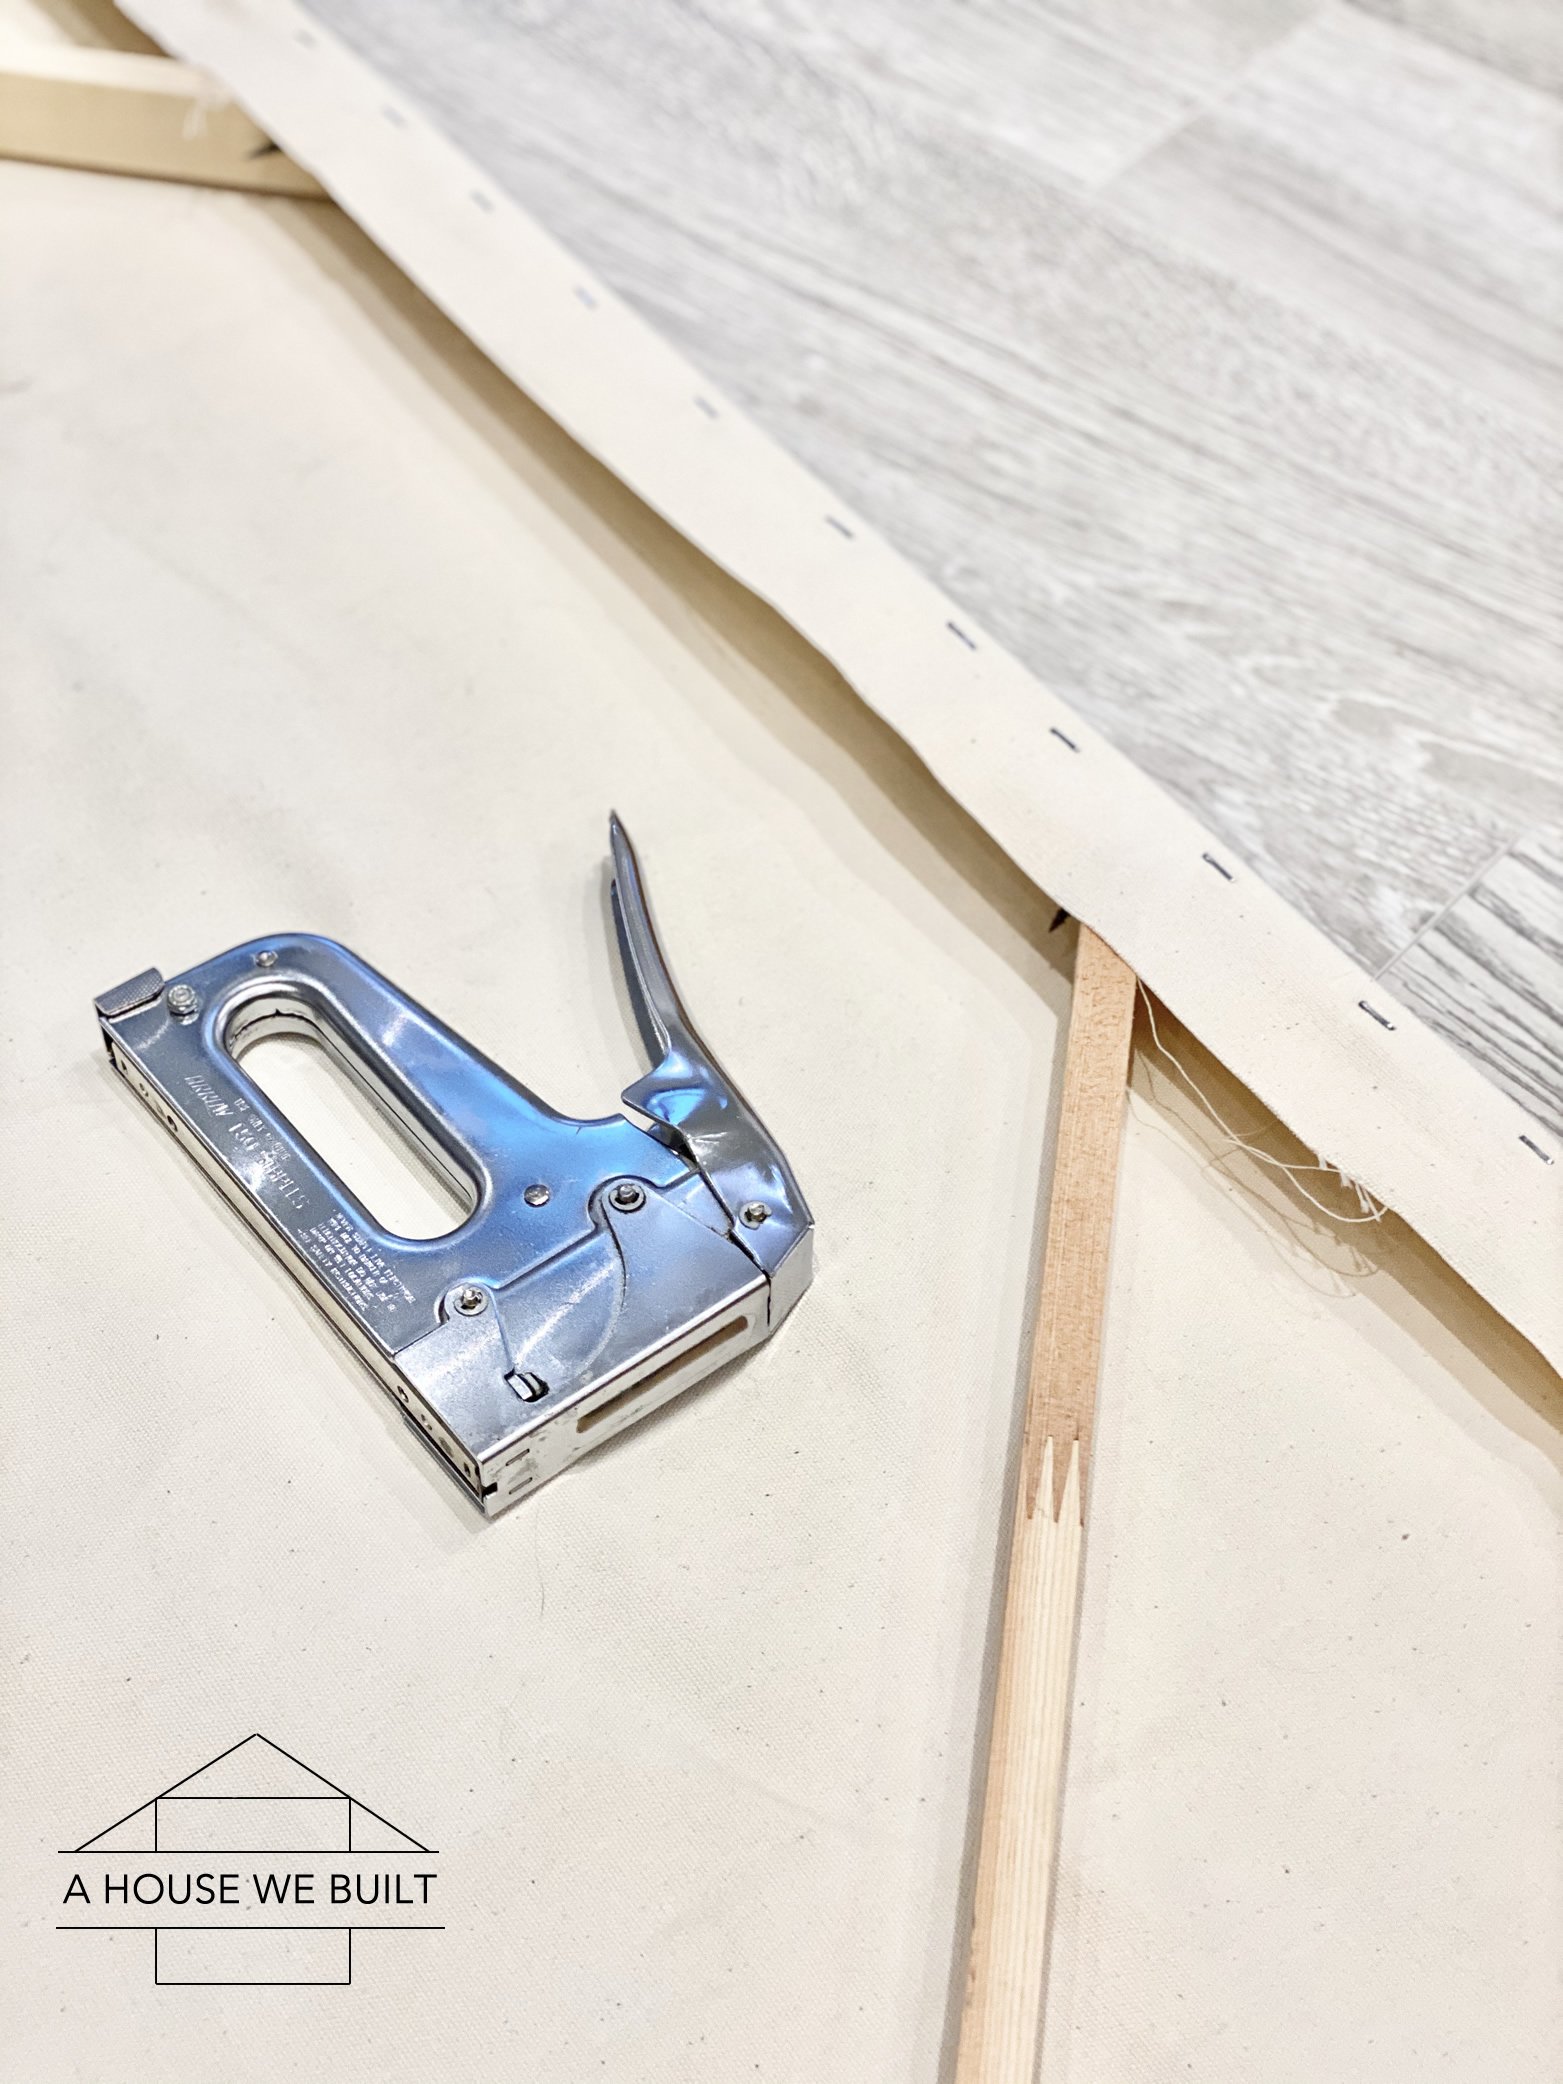
Instructions for attaching the sail material:
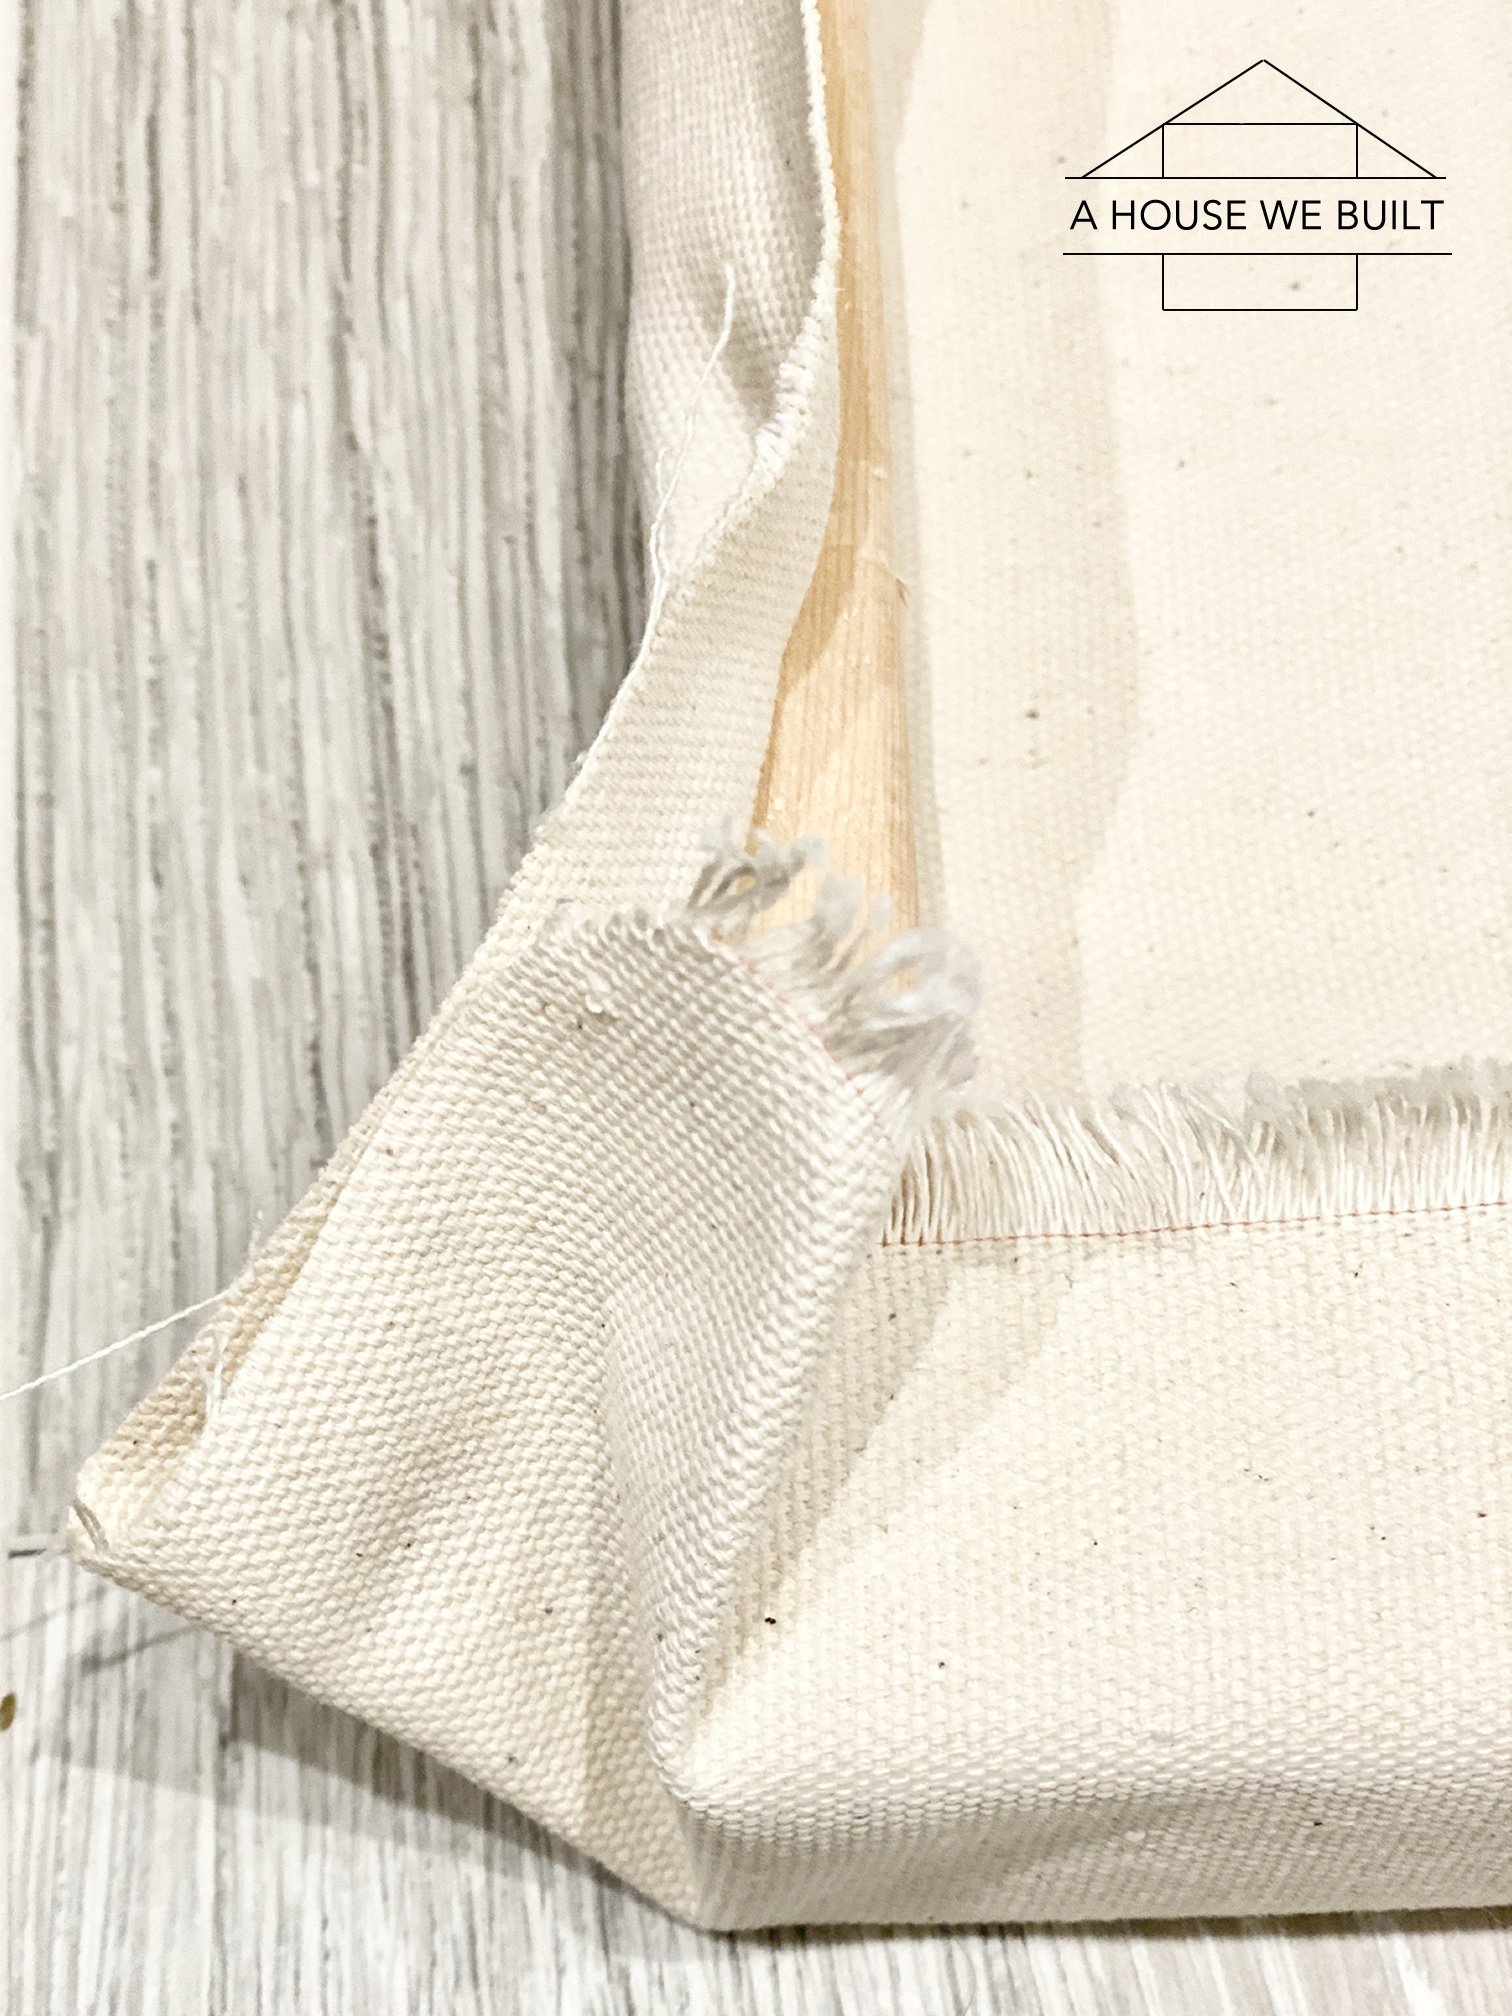
- The basic idea here is that you're going to wrap the sail over the front of the frame and staple information technology to the back. Just you have to pull the sail tight or you'll end upwardly with ripples and nobody wants that. Then hither'southward how we did ours: First, we smoothed the sheet out to get rid of any fold lines, and then placed the frame over it and secure 1 side all the style, stapling information technology to the wood every 1-2 inches, just be certain to stop about 2″ before the corners considering you'll do the corners at the end.
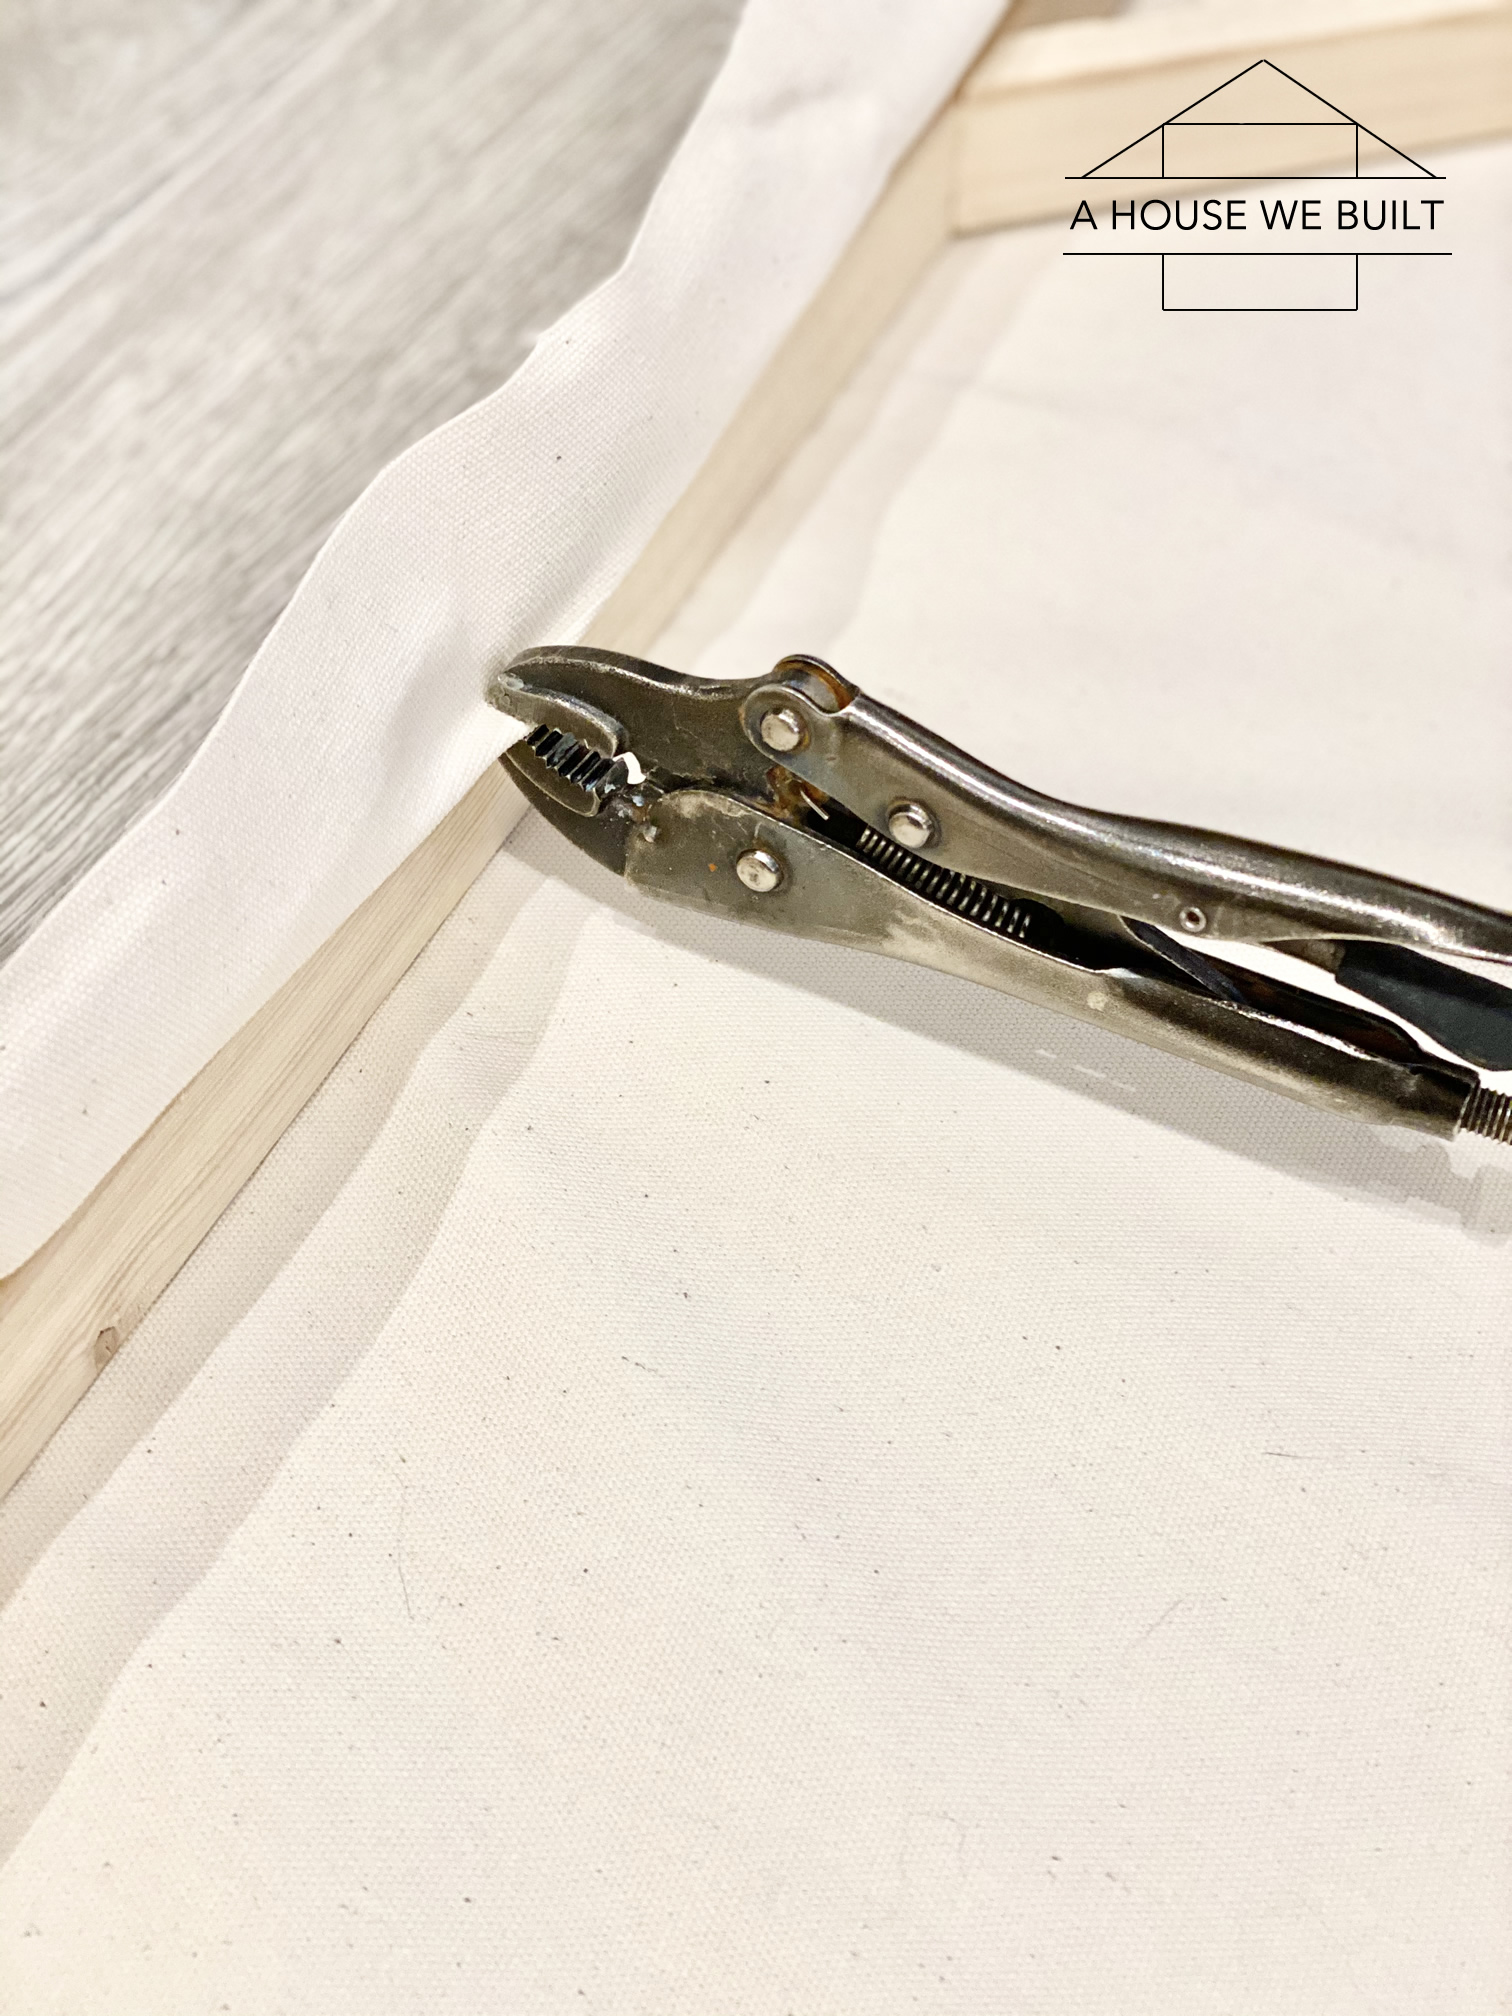
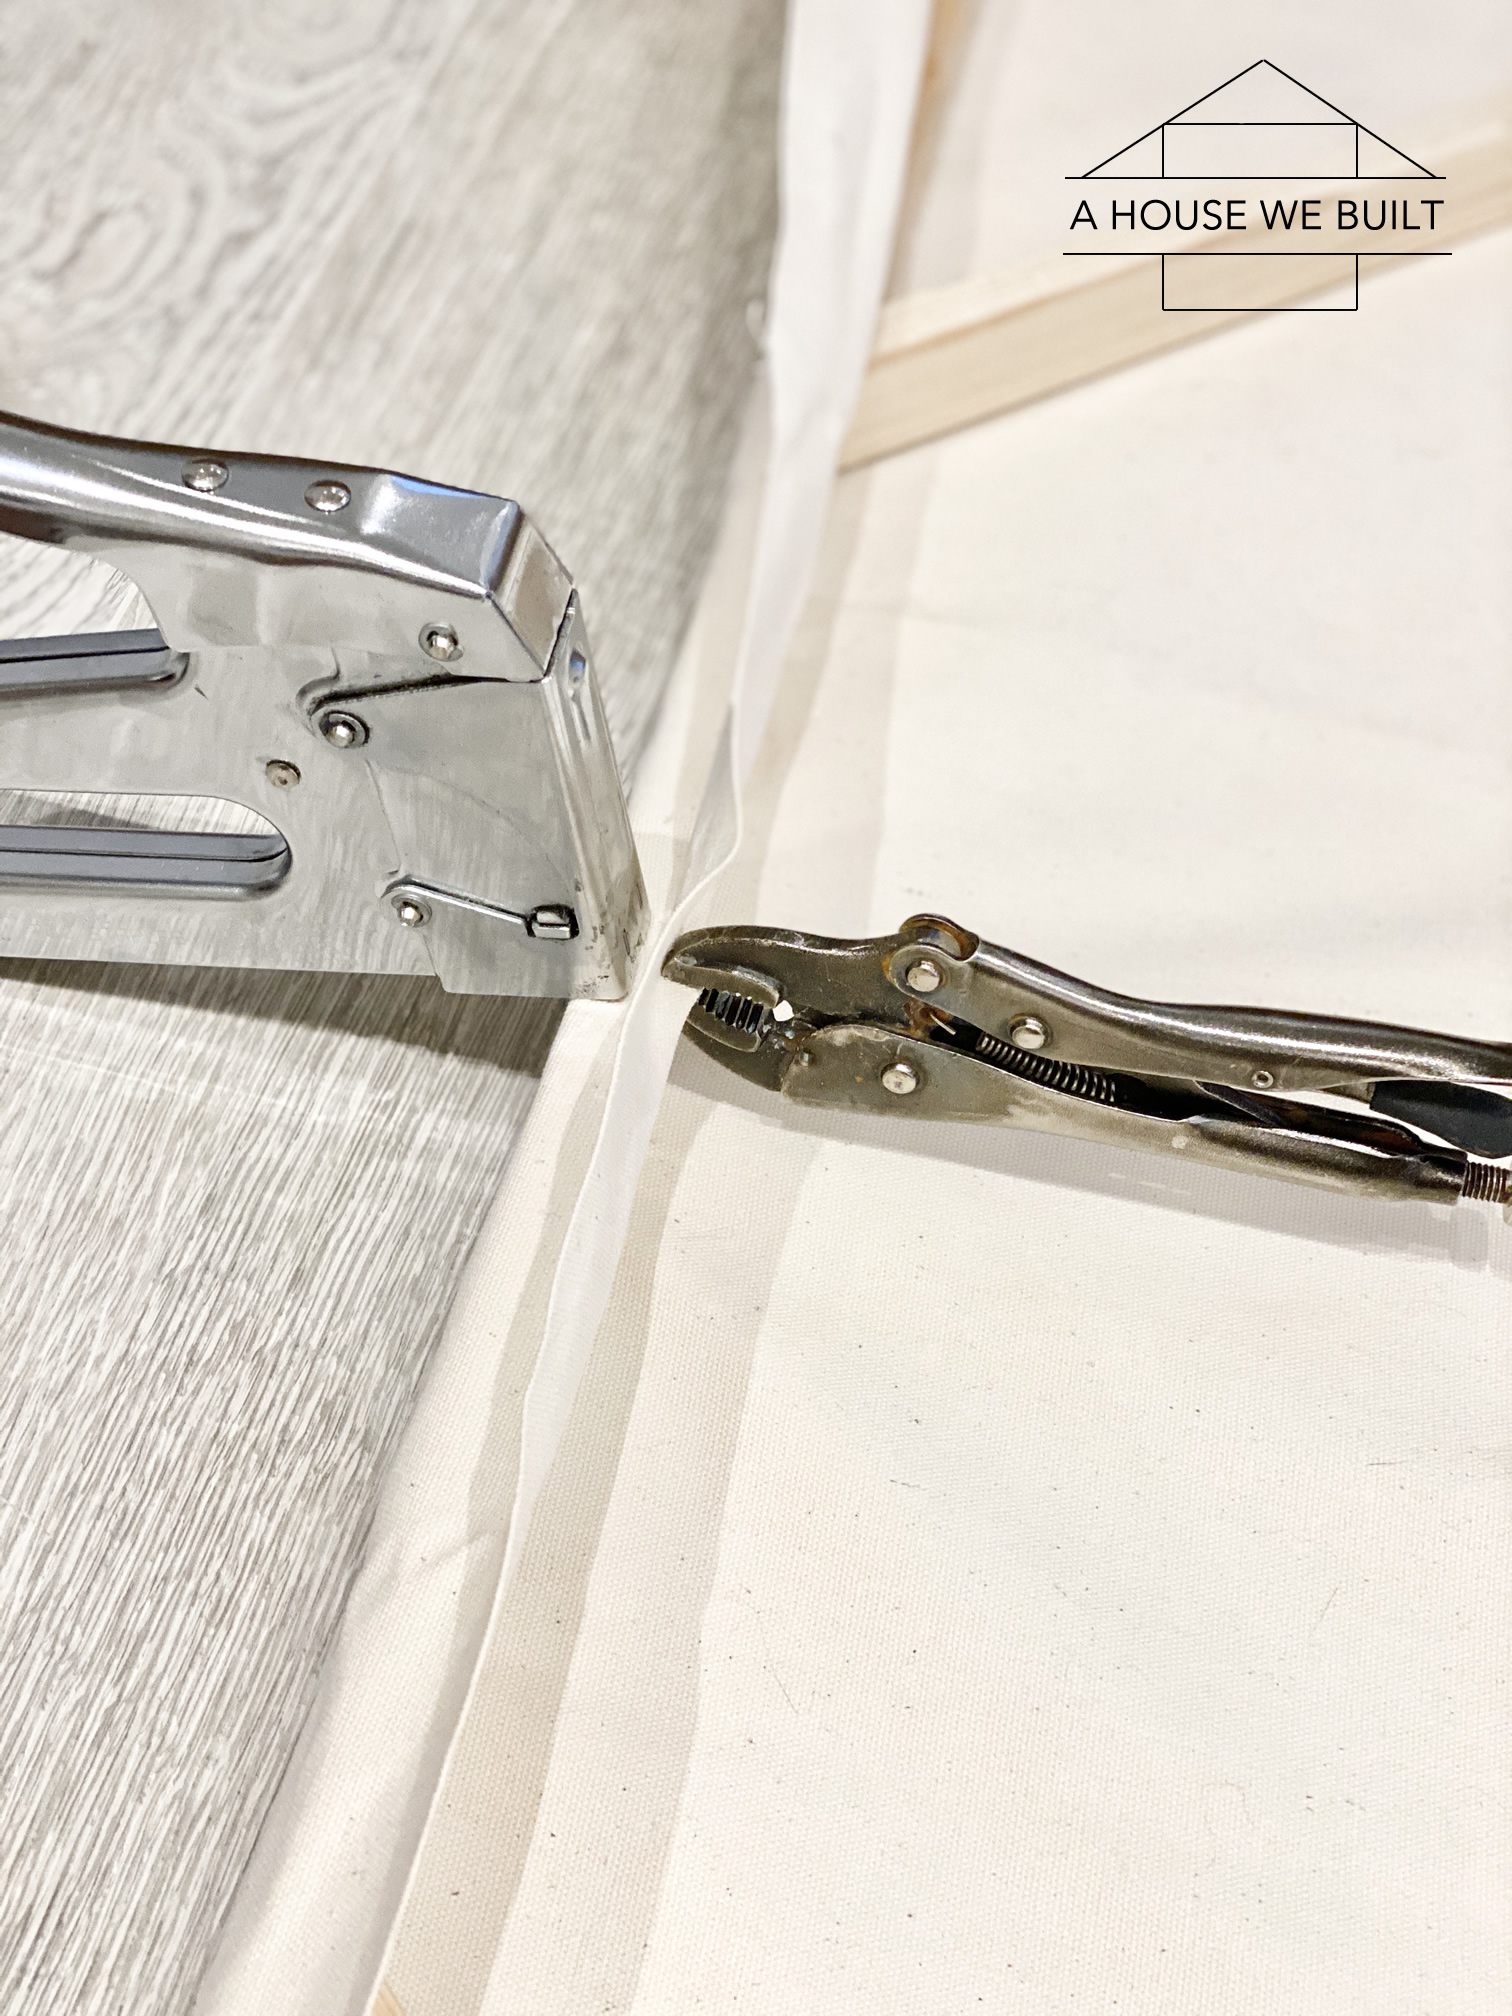
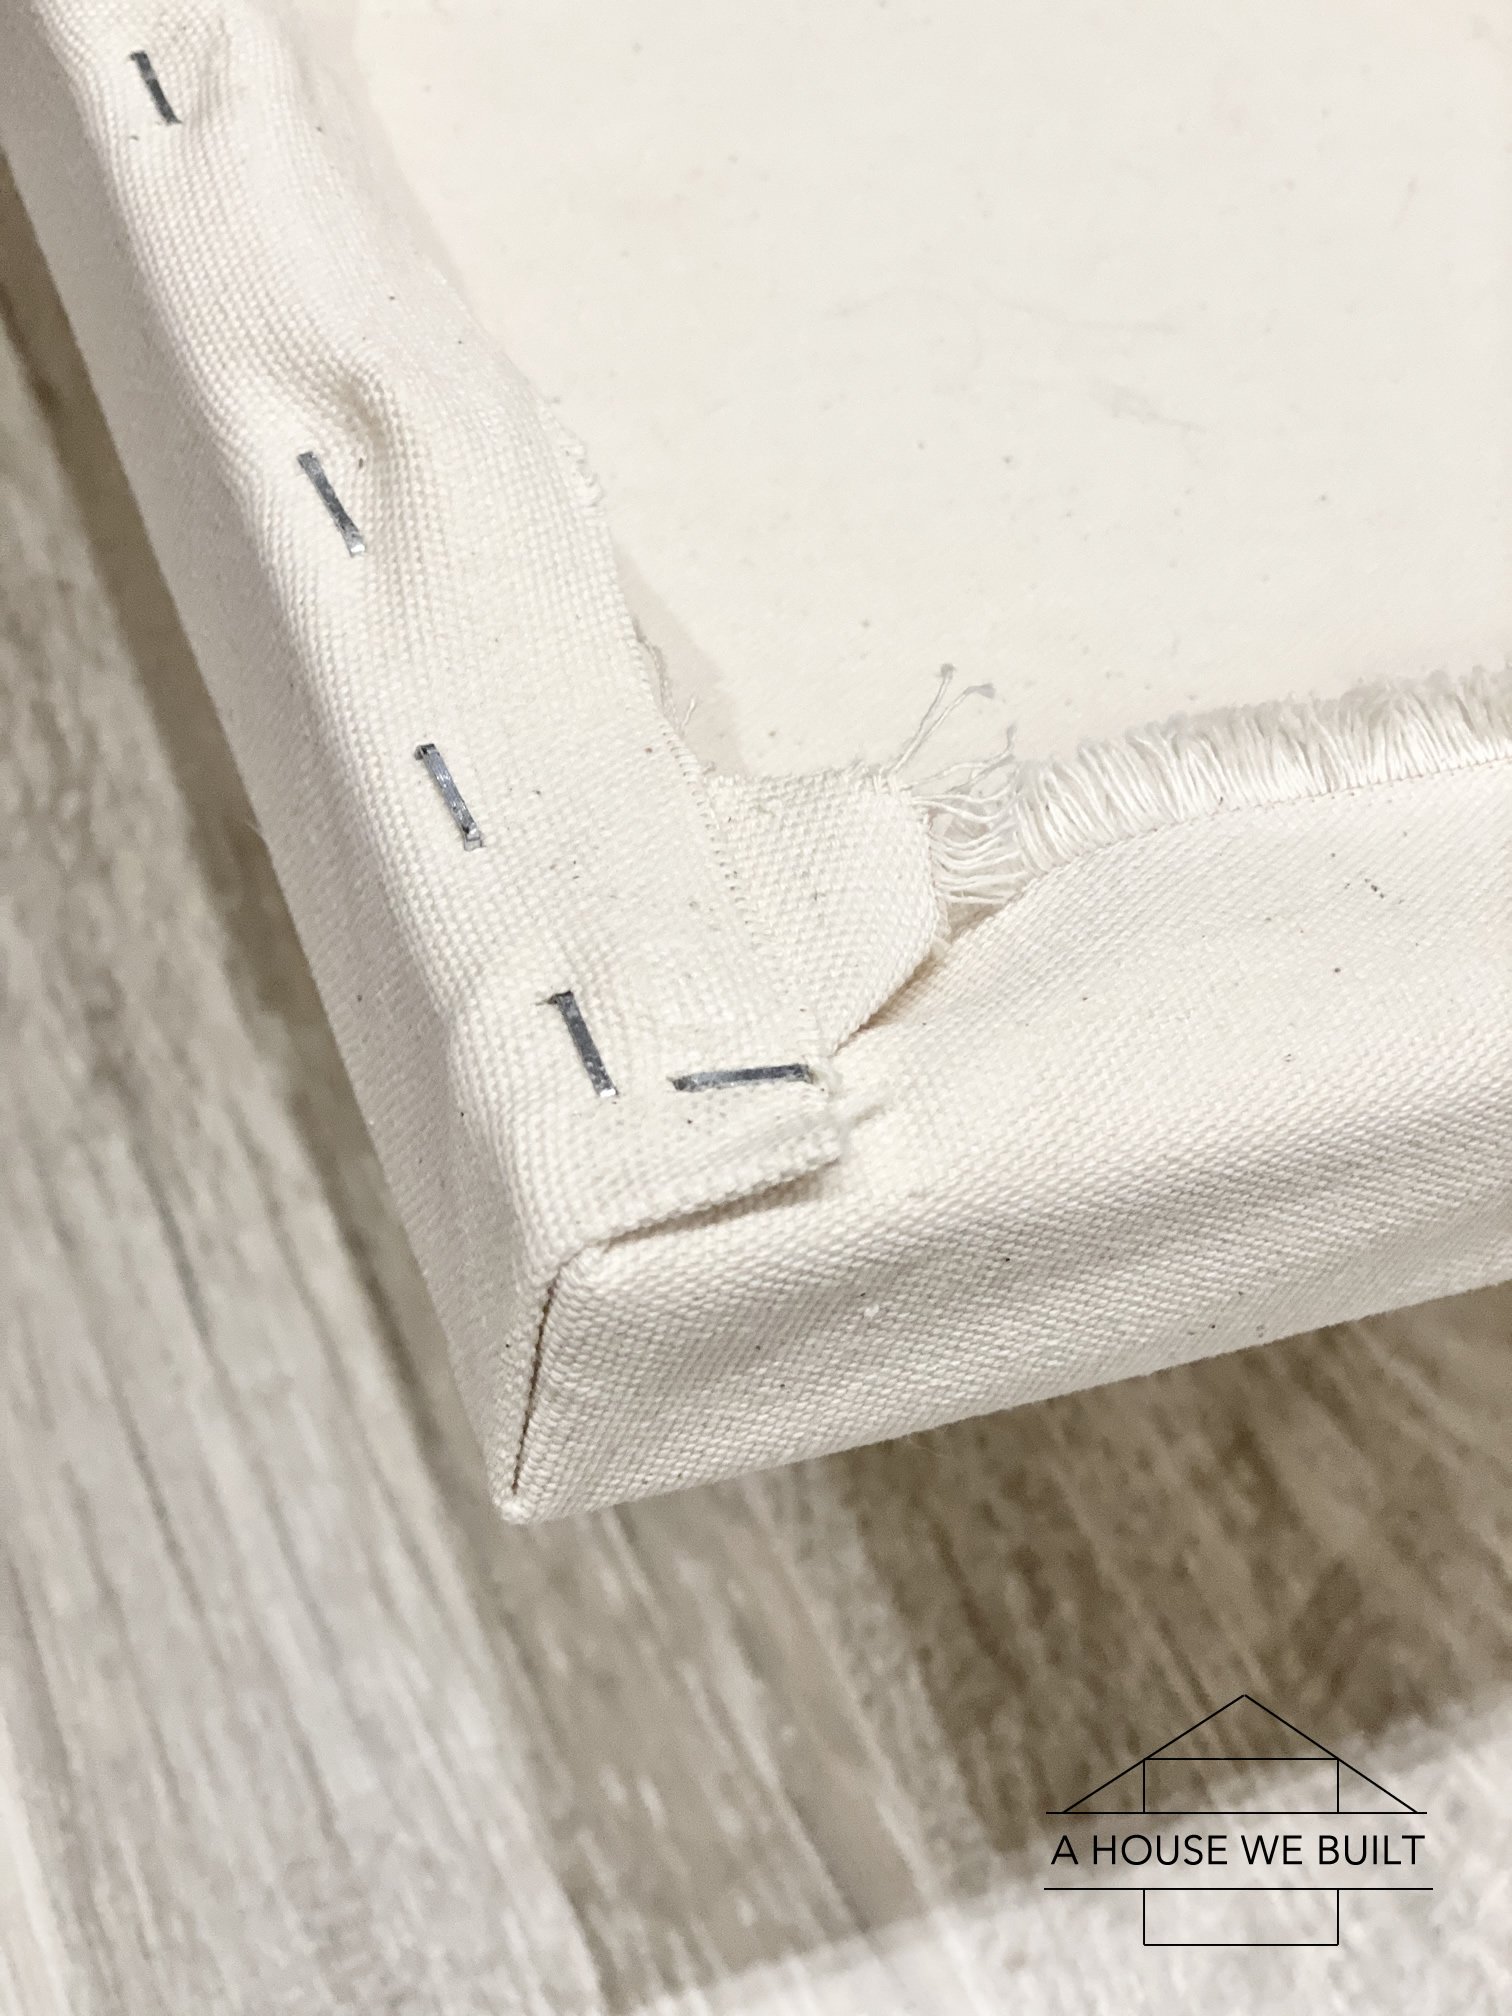
- So go on on to secure the other sides with more staples. We e'er would first in the center and piece of work our way to the corners. We used locking plyers to help pull the canvas tight – but be careful because you tin rip the canvas if you lot pull too tight.
- Finally do the corners. I've shown a picture to kinda show how I folded it. There's no right or incorrect manner to do it – just make it look swell and well tucked and give it a couple extra staples.
Pace two: HOW TO Brand DRYWALL MUD / JOINT Compound ART
Materials:
- Joint compound/drywall mud: Home Depot (I ever use this dust command i)
- Paint (I used BM Simply White in matte)
Tools:
- Trowels/taping knives. I used these two sizes: Home Depot / Amazon | Domicile Depot / Amazon
- Pigment castor
Instructions for mud art:
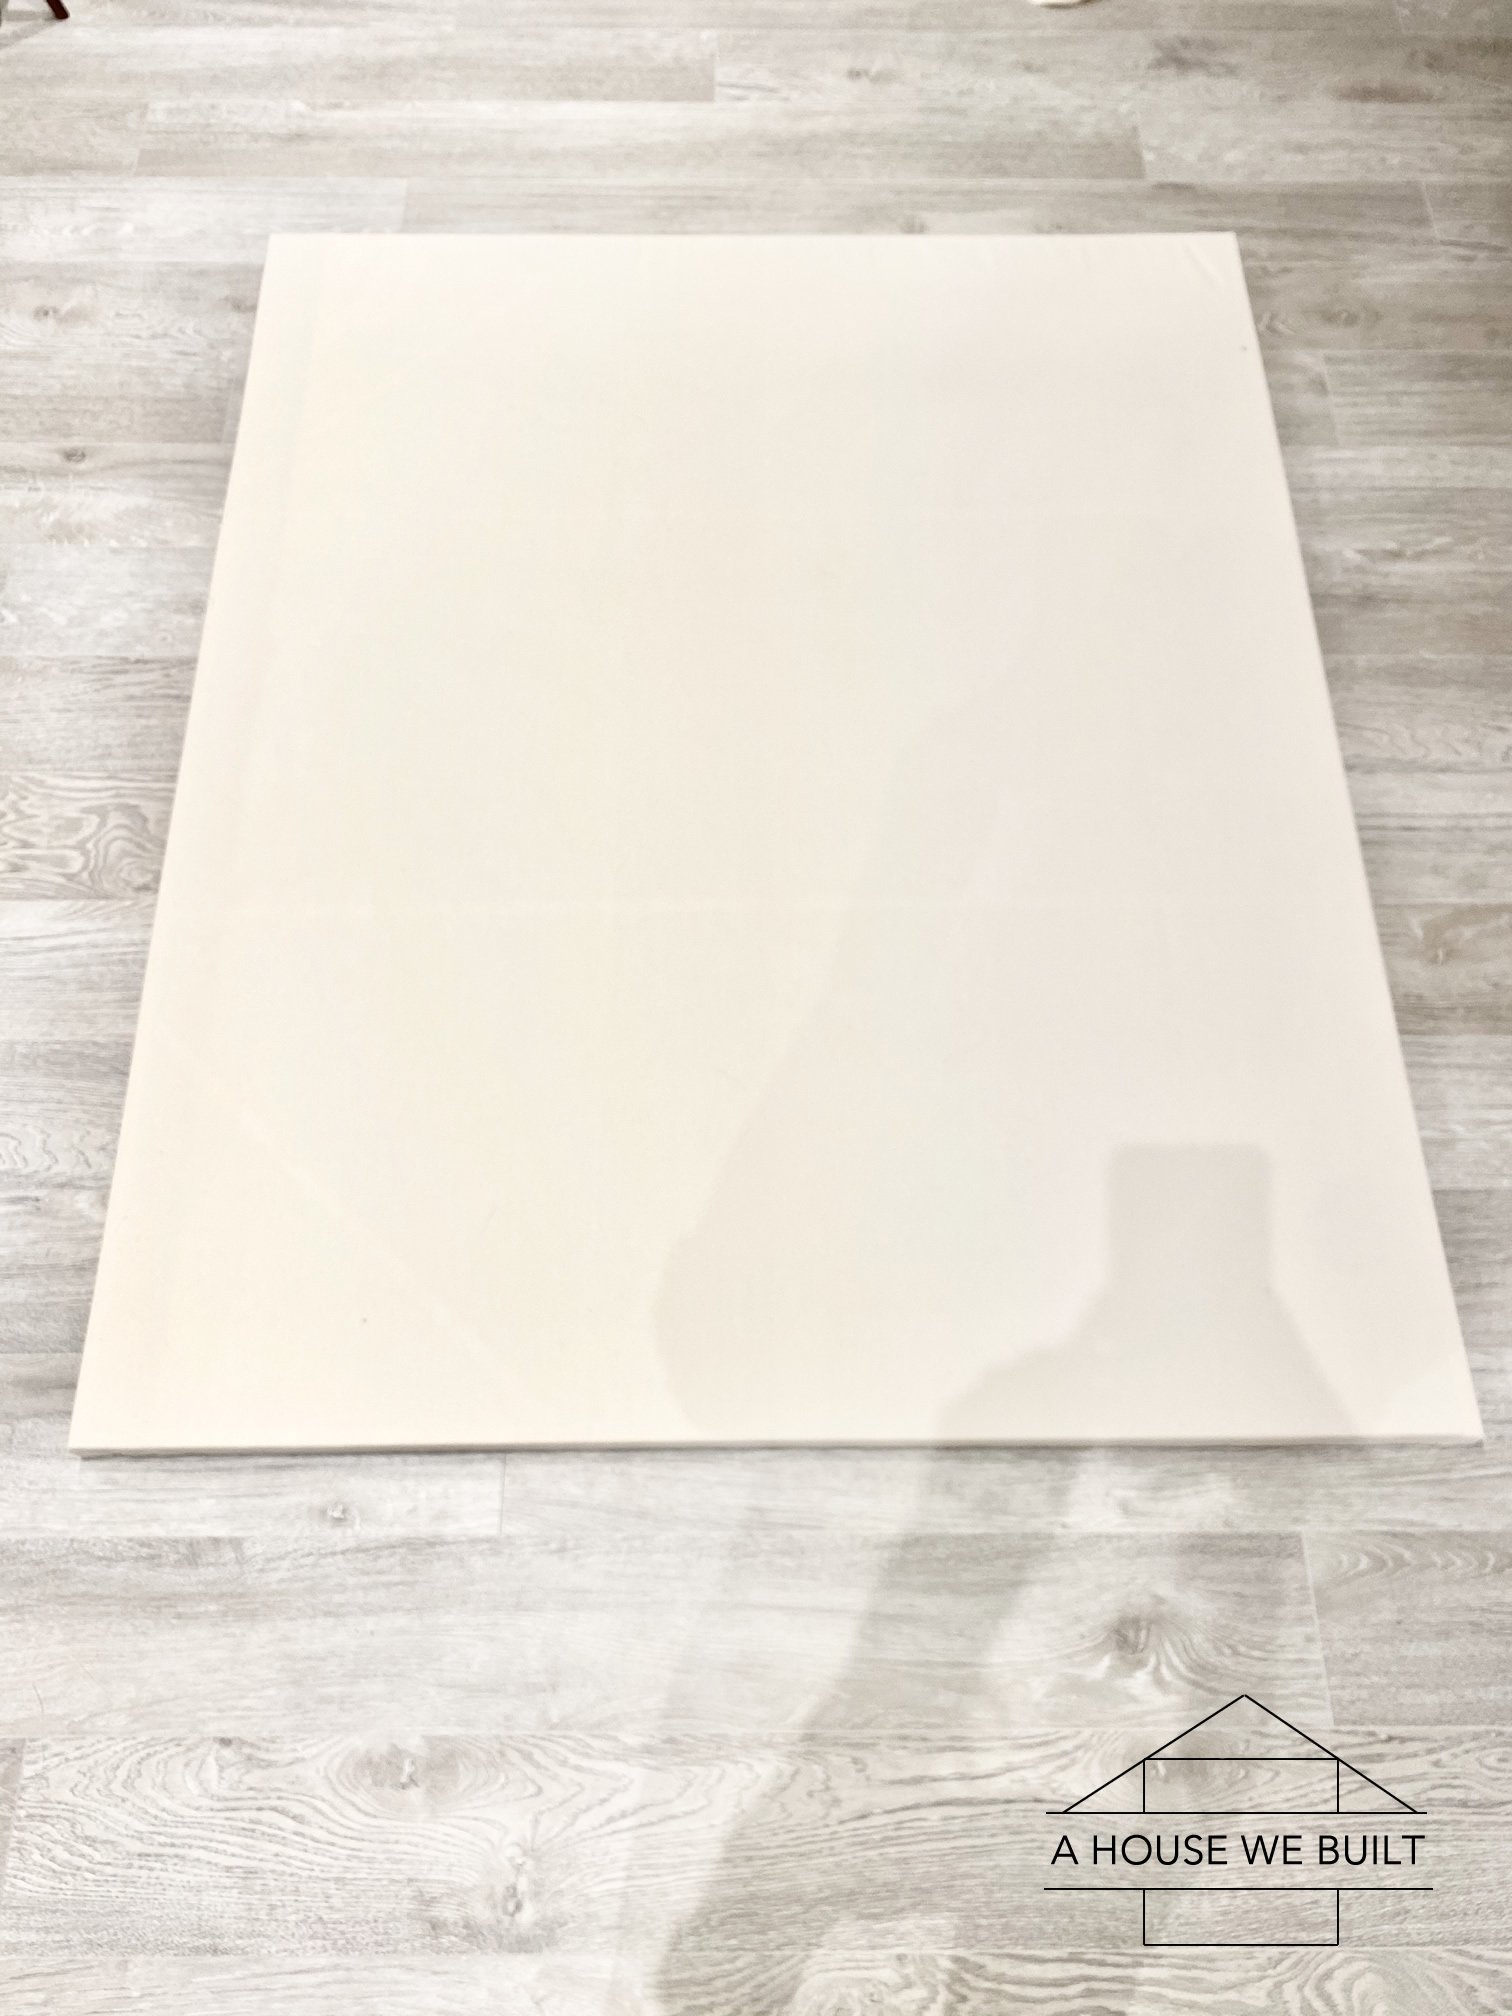
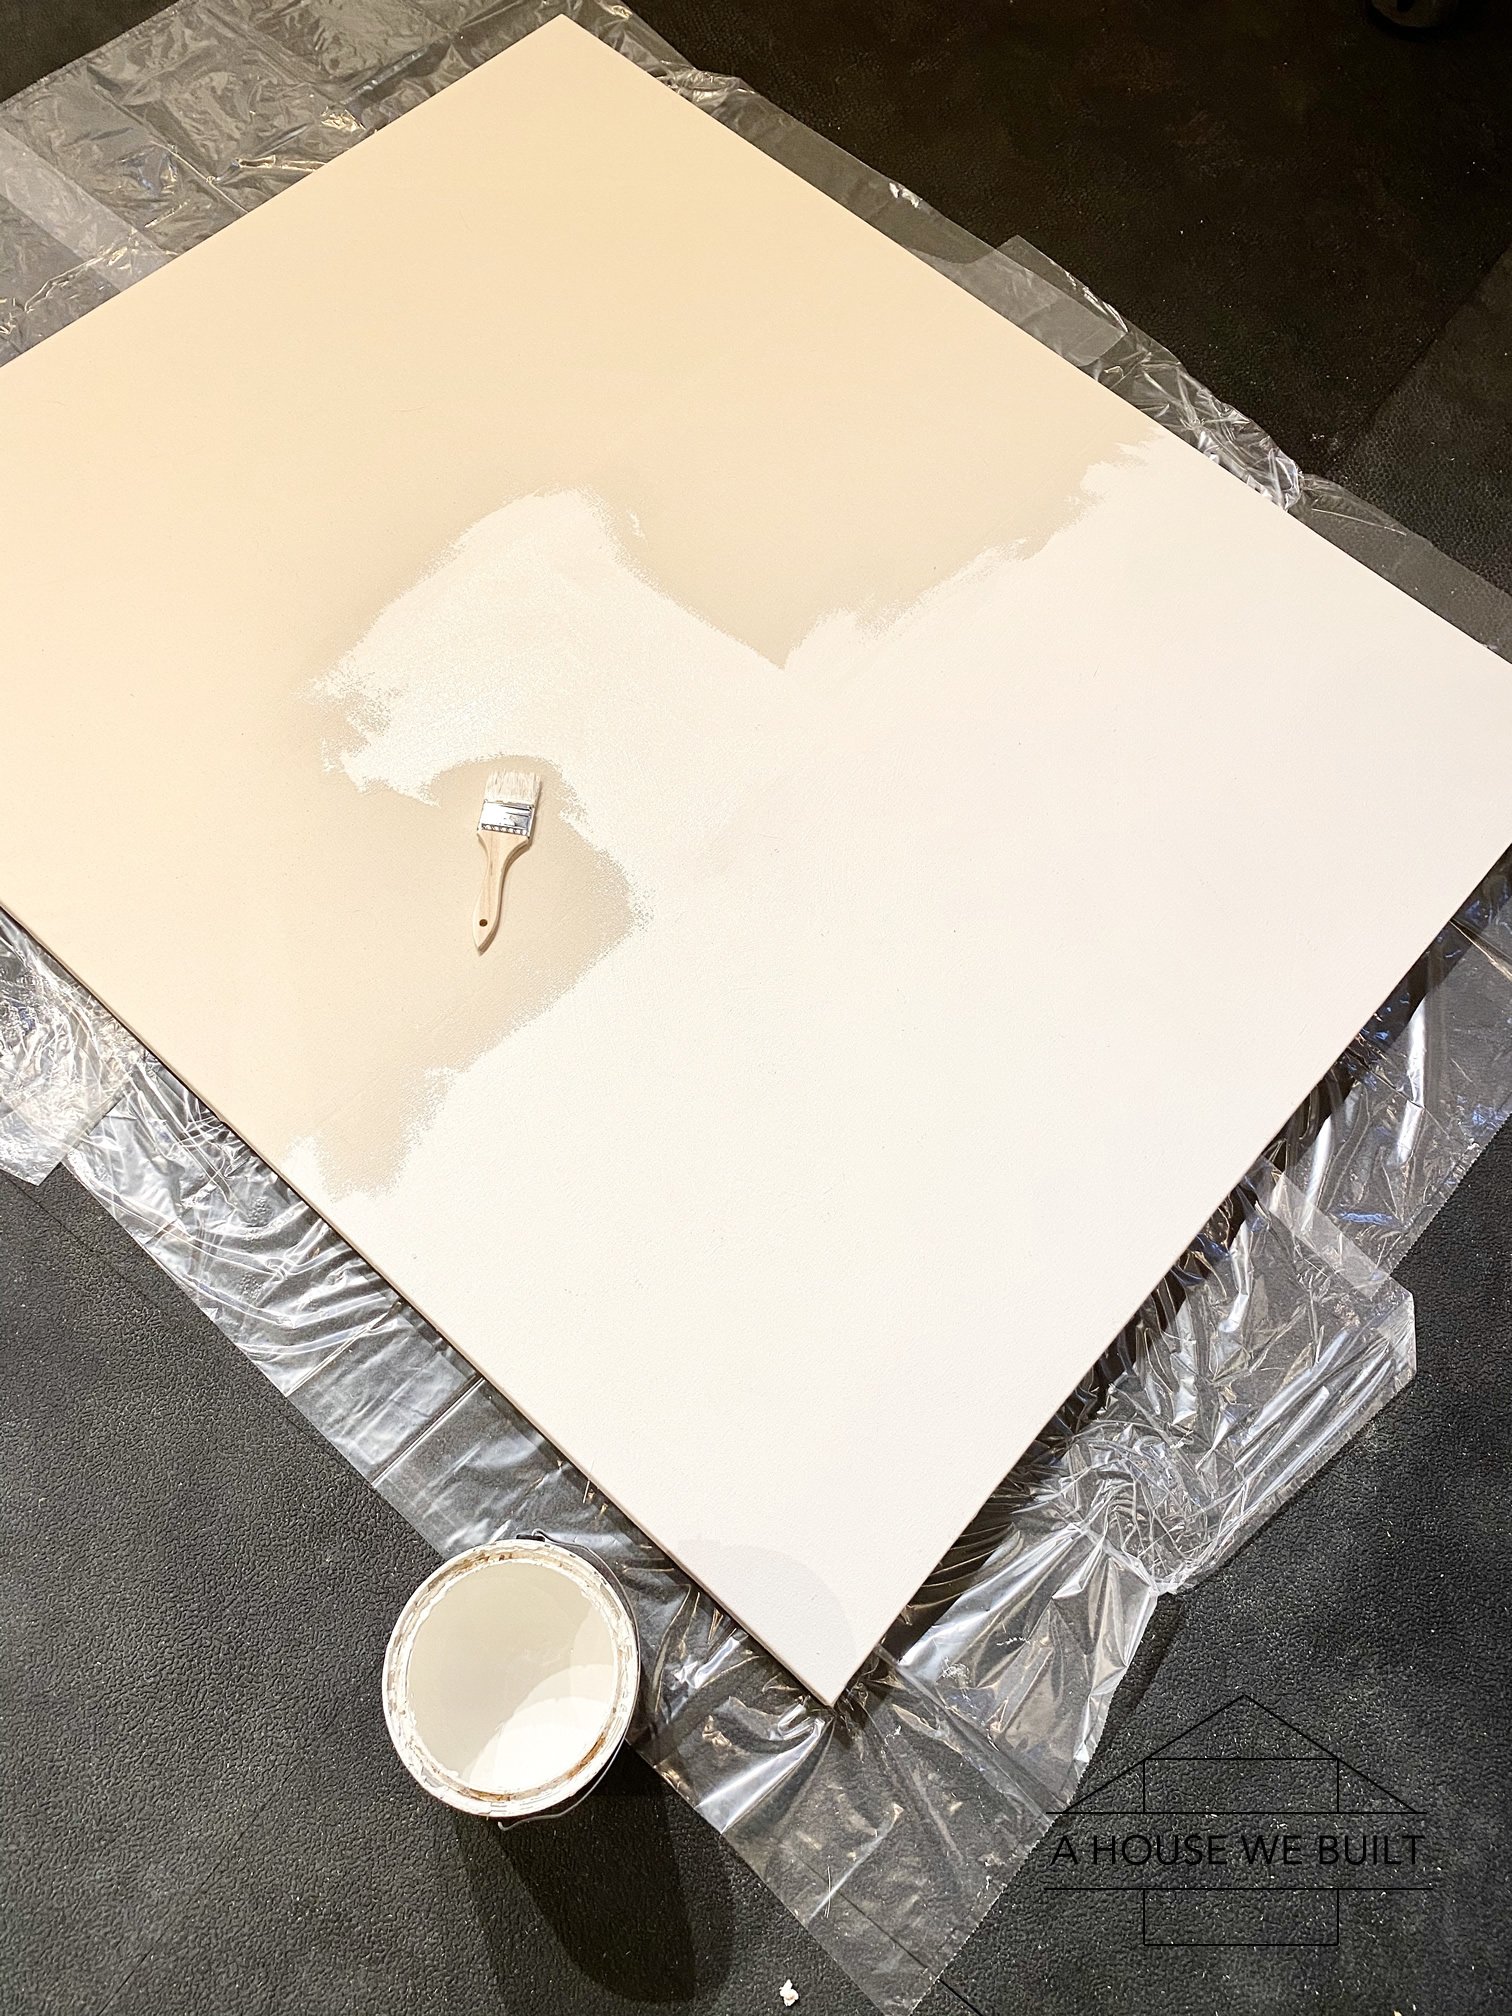
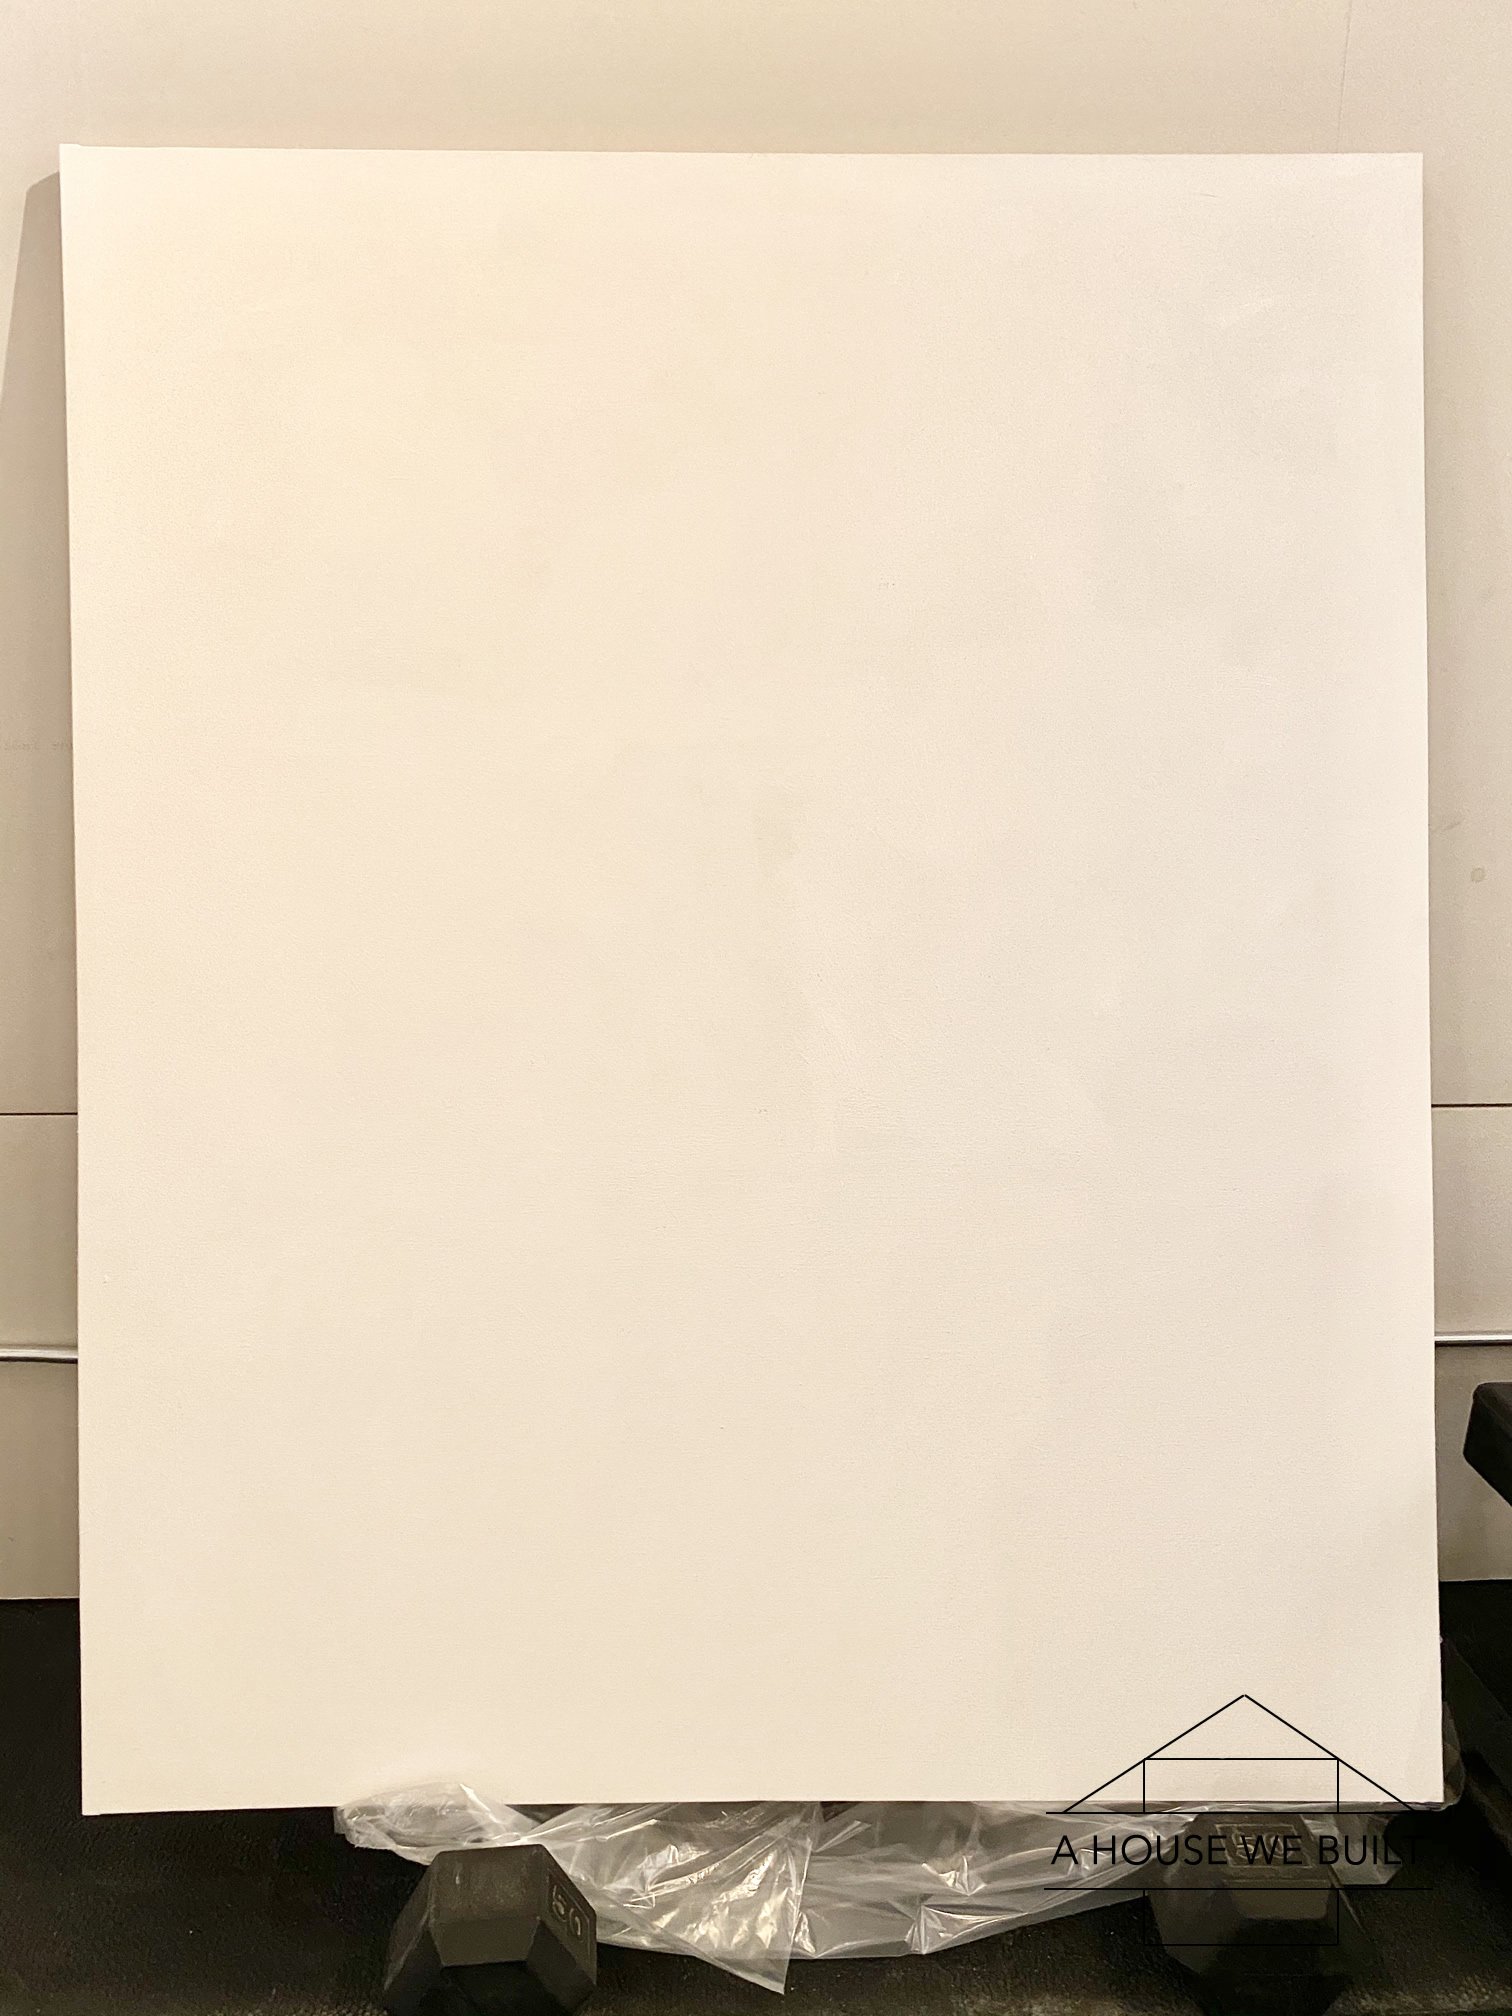
- Before yous begin texturing your canvas, yous'll demand to paint the entire sheet with whatever type of house pigment you have on hand to substantially seal the canvas textile. I saw that pros do this with something called "gesso" (?) just I figured that business firm paint would probably role the same and it worked for me. Basically the style I understand it is that the idea is to get in then that the fabric is a piddling stronger base to concur your mud and then that the moisture won't sink into information technology as much. Anyhoo, just pigment the whole matter and let it dry fully earlier starting anything else. I used matte wall paint and a paint castor – really making sure that I got the paint into the weave of the cloth.
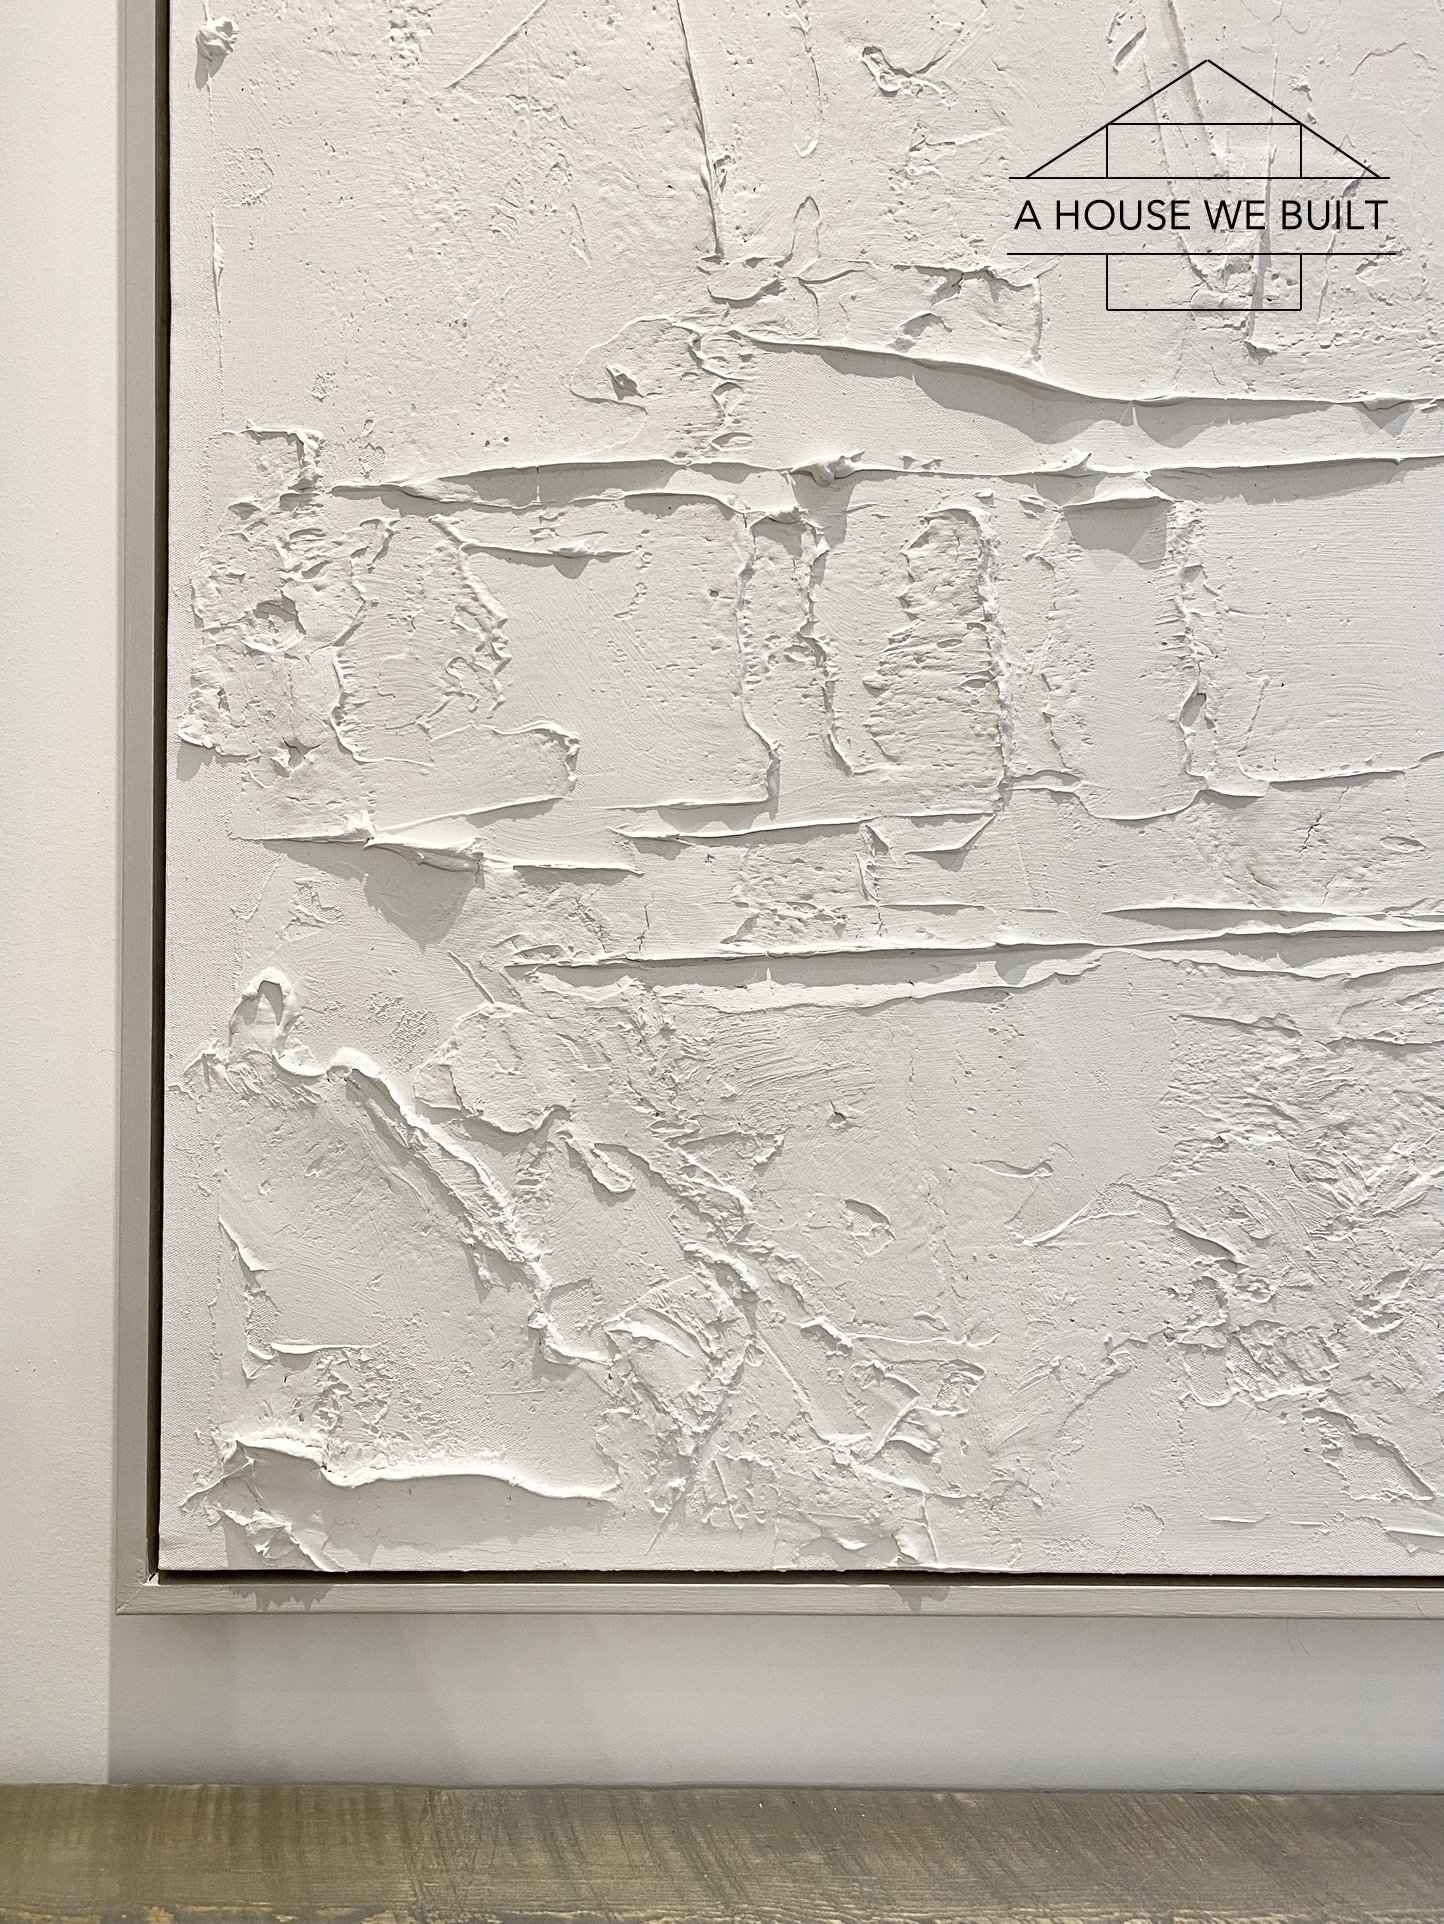
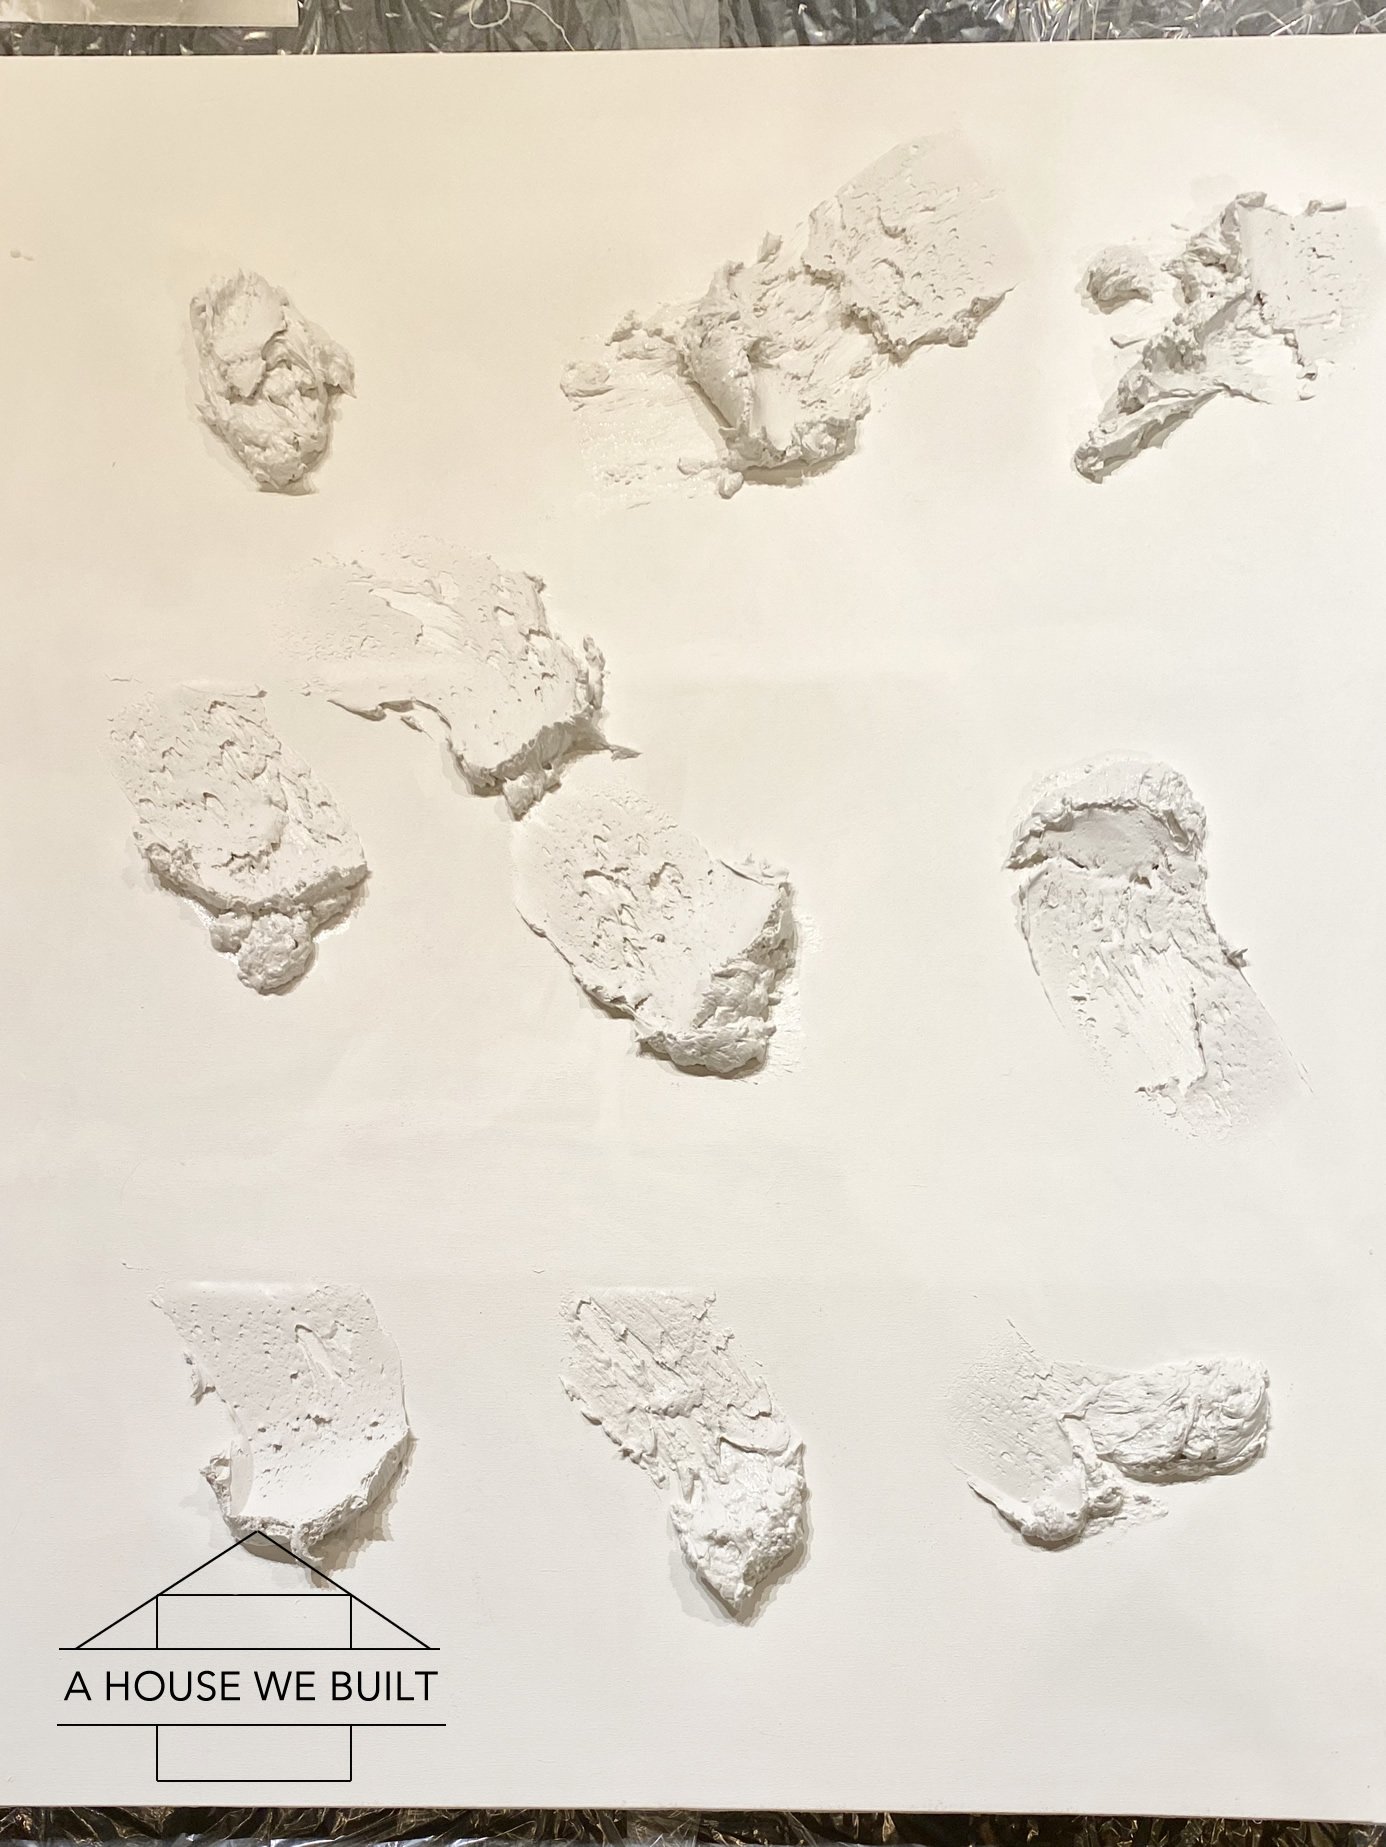
- Once your painted canvas is dry, it'south time to texture! In that location are no rules to this process. Just gloop a bunch of drywall mud onto the sheet and shape it until you're happy with how it looks. [Tip #one: if you've never worked with drywall mud before, I would propose practicing a footling on a scrap board or something just so y'all get a feel for it. I've mudded and taped a ton of drywall at this betoken so I'm actually familiar with how the mud goes on and what textures to look for but if I wasn't, I retrieve I would have liked to practice a little first. Tip #ii: if yous add a little water, you can create different consistencies in the mud, which in turn will look a little dissimilar as yous smear information technology so play effectually with that. Tip #3: have a few dissimilar tools on mitt. I actually only used my drywall taping knife and trowel and so it doesn't accept to be fancy only I suggest at least two different sizes of tools.]
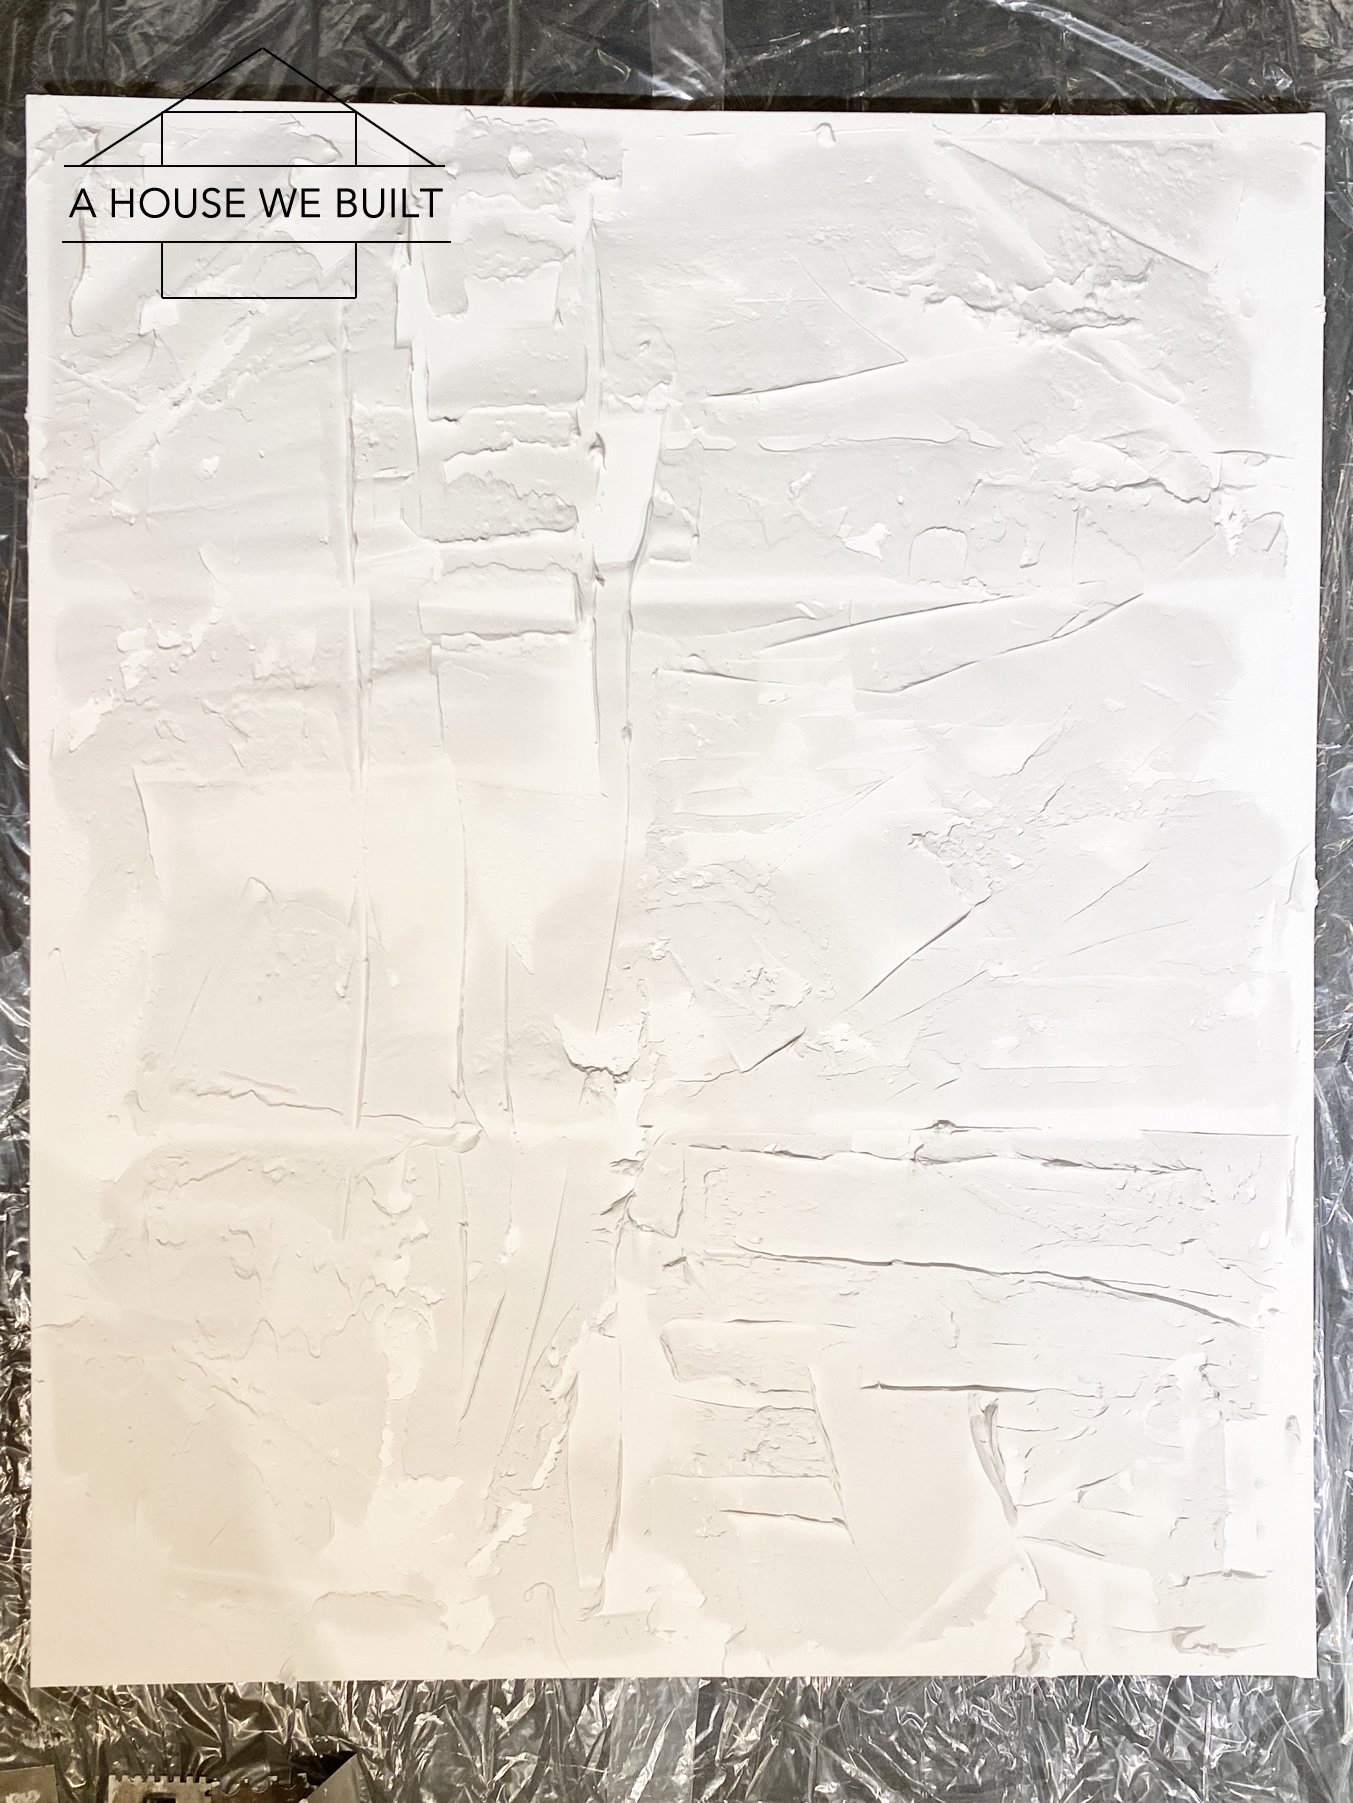
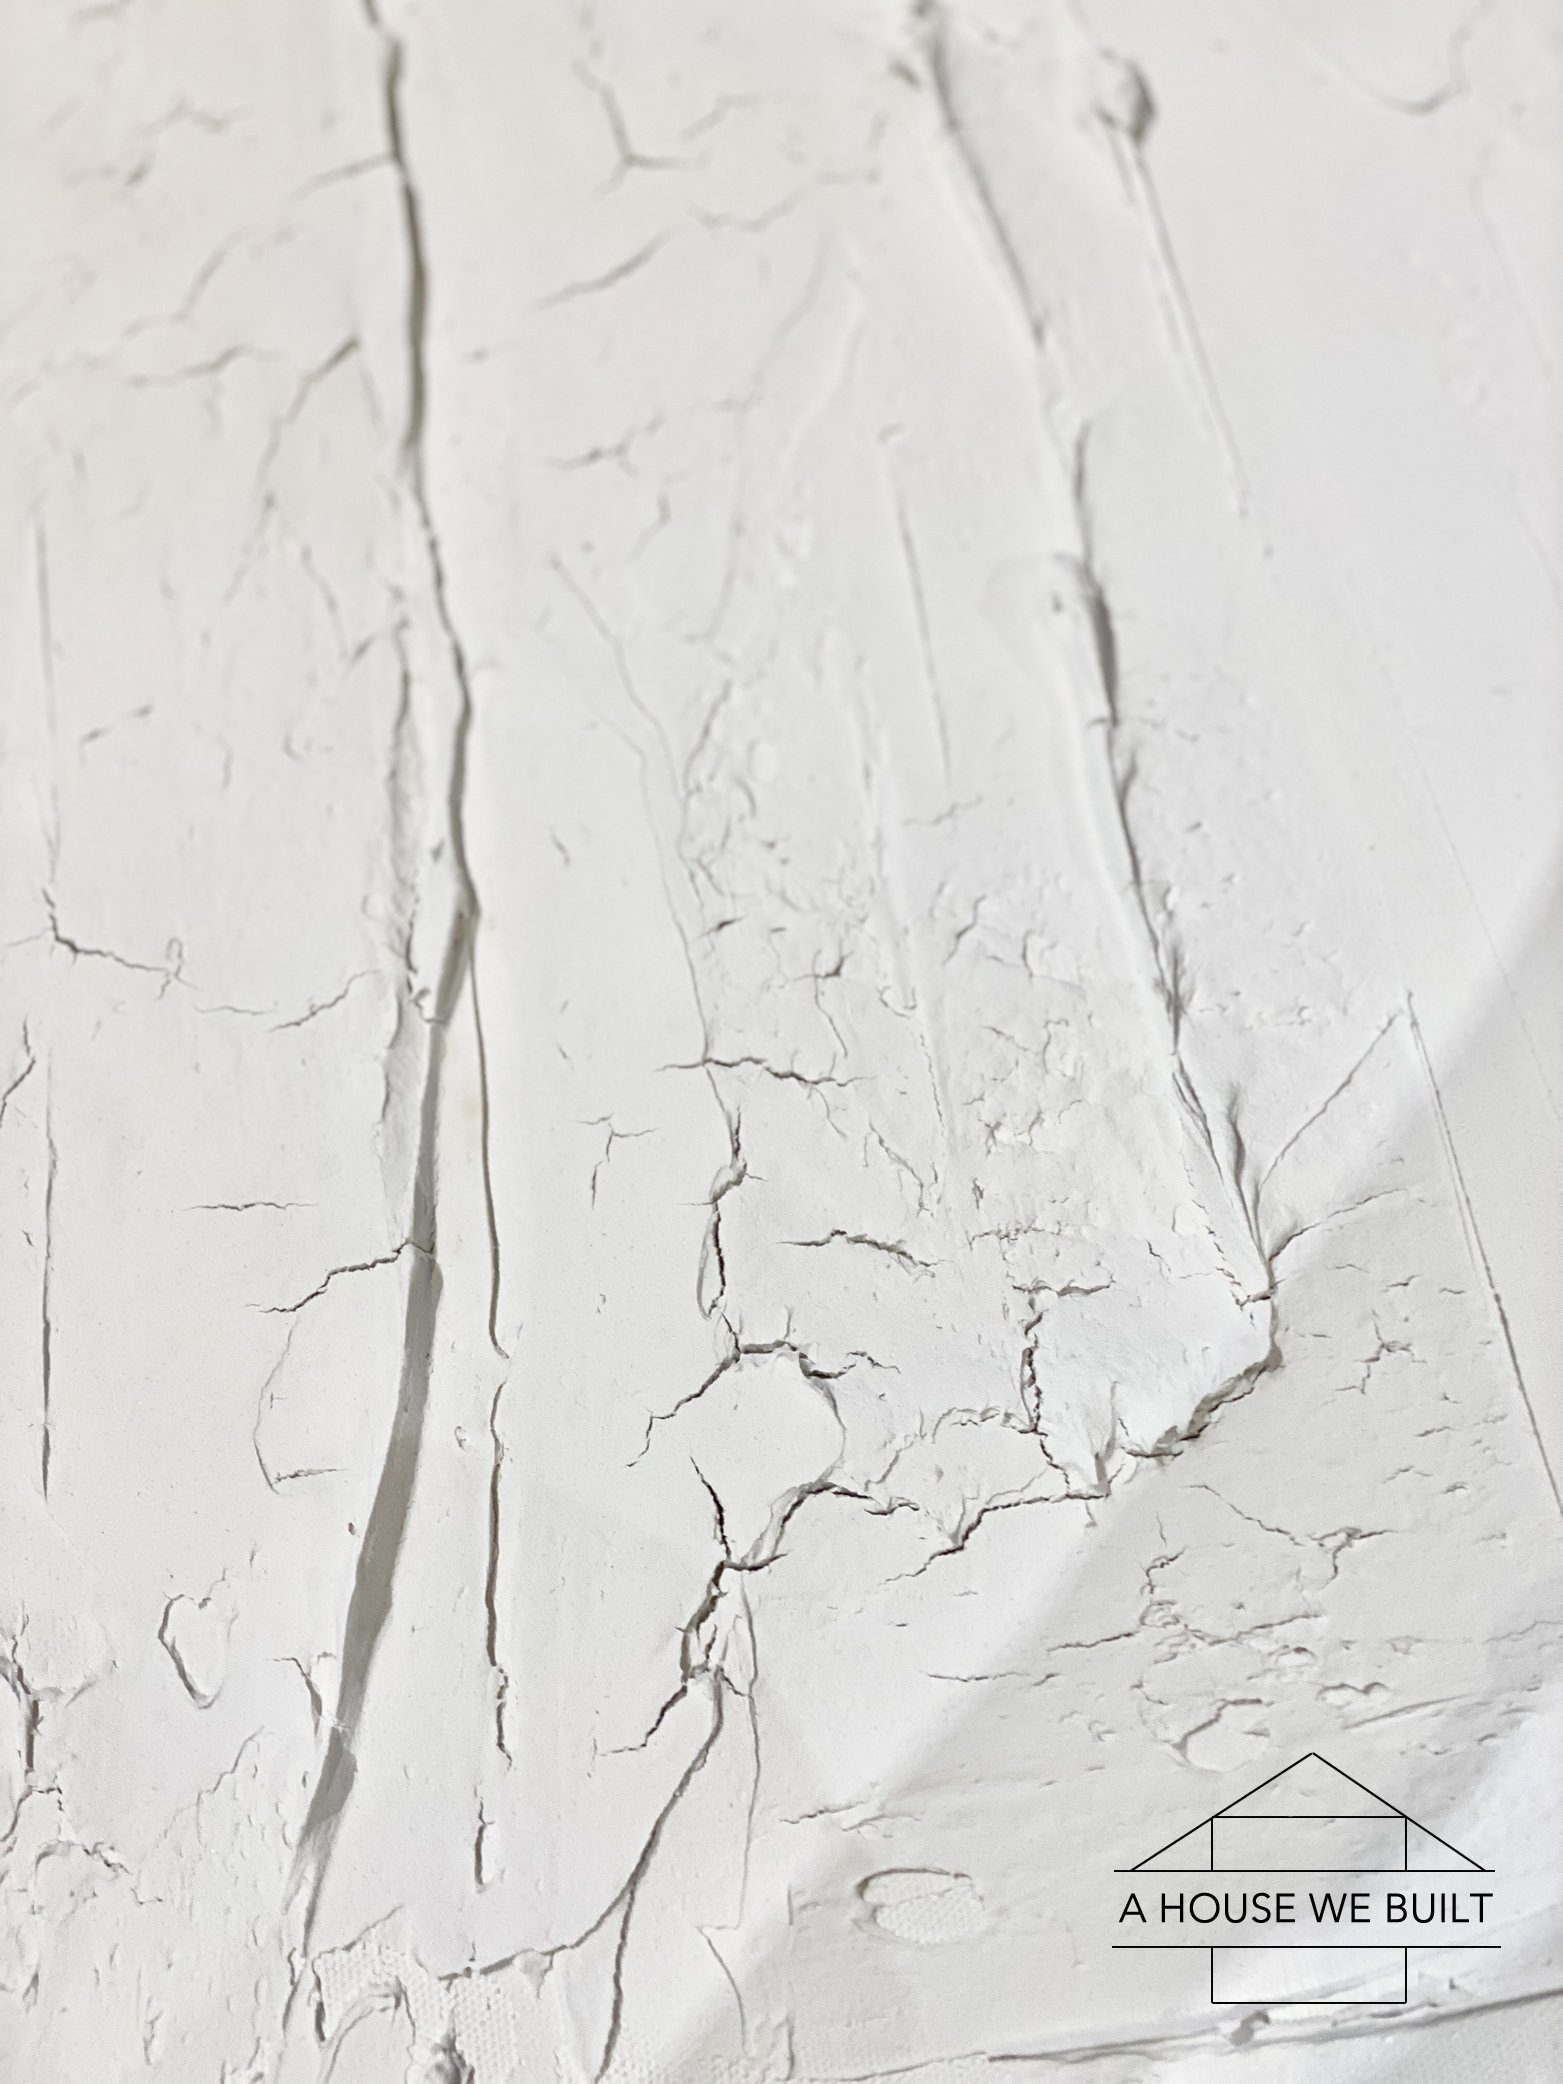
- Allow this to dry out FULLY, specially if you have some thicker mud sections. I let mine dry out for about 5 days before moving to the side by side step. Left moving picture below is later on well-nigh i 24-hour interval of drying.
- After information technology's fully dried, you may notice that sections of the mud take cracked. Don't worry, this is normal. Just go in with a gloved hand and a little chip of mud and use your finger to *gently* repair the cracks by adding a small amount of more than mud over the cracks (also if the cleft is larger, fill in the gap with mud) but smooth information technology back over and then y'all don't lose the shape of the texture and lines you created. I did this in sections all over my entire canvas. The idea here is that you want your mud to be firmly secured to your canvas and if there are cracks, I'd be worried it would just scissure and fall off one time you moved it to a vertical position and so I wanted to repair all the cracks to strengthen the overall mud construction. I've shown some before (middle) and after (right) pics below:
- Allow the crack repairs to dry FULLY. I let mine dry out for 2 days.
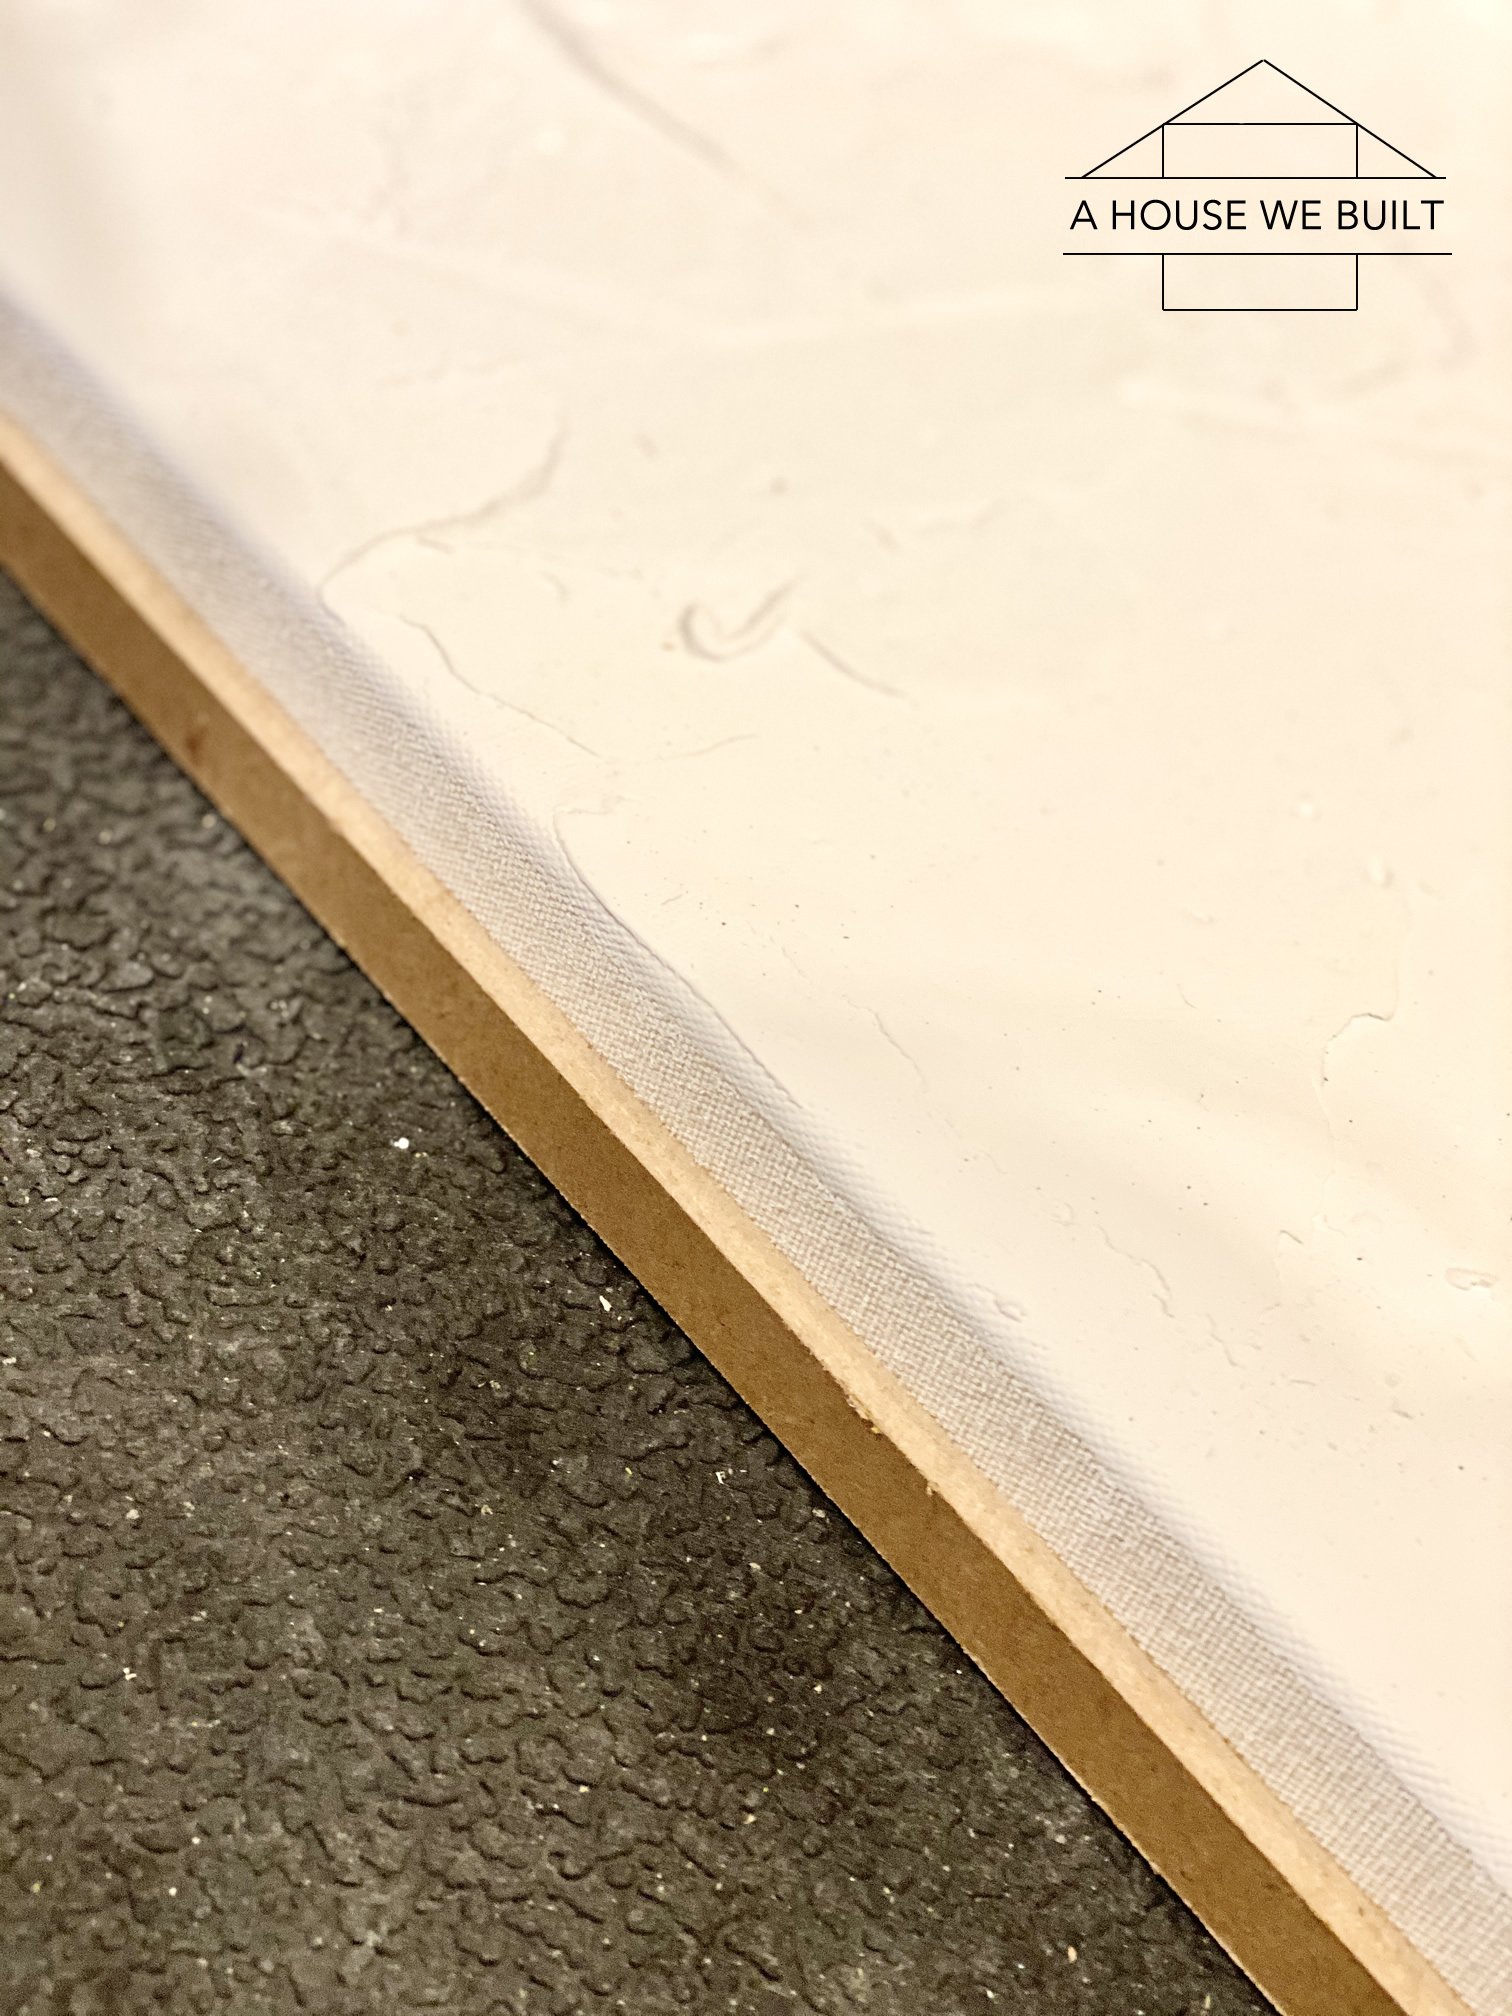
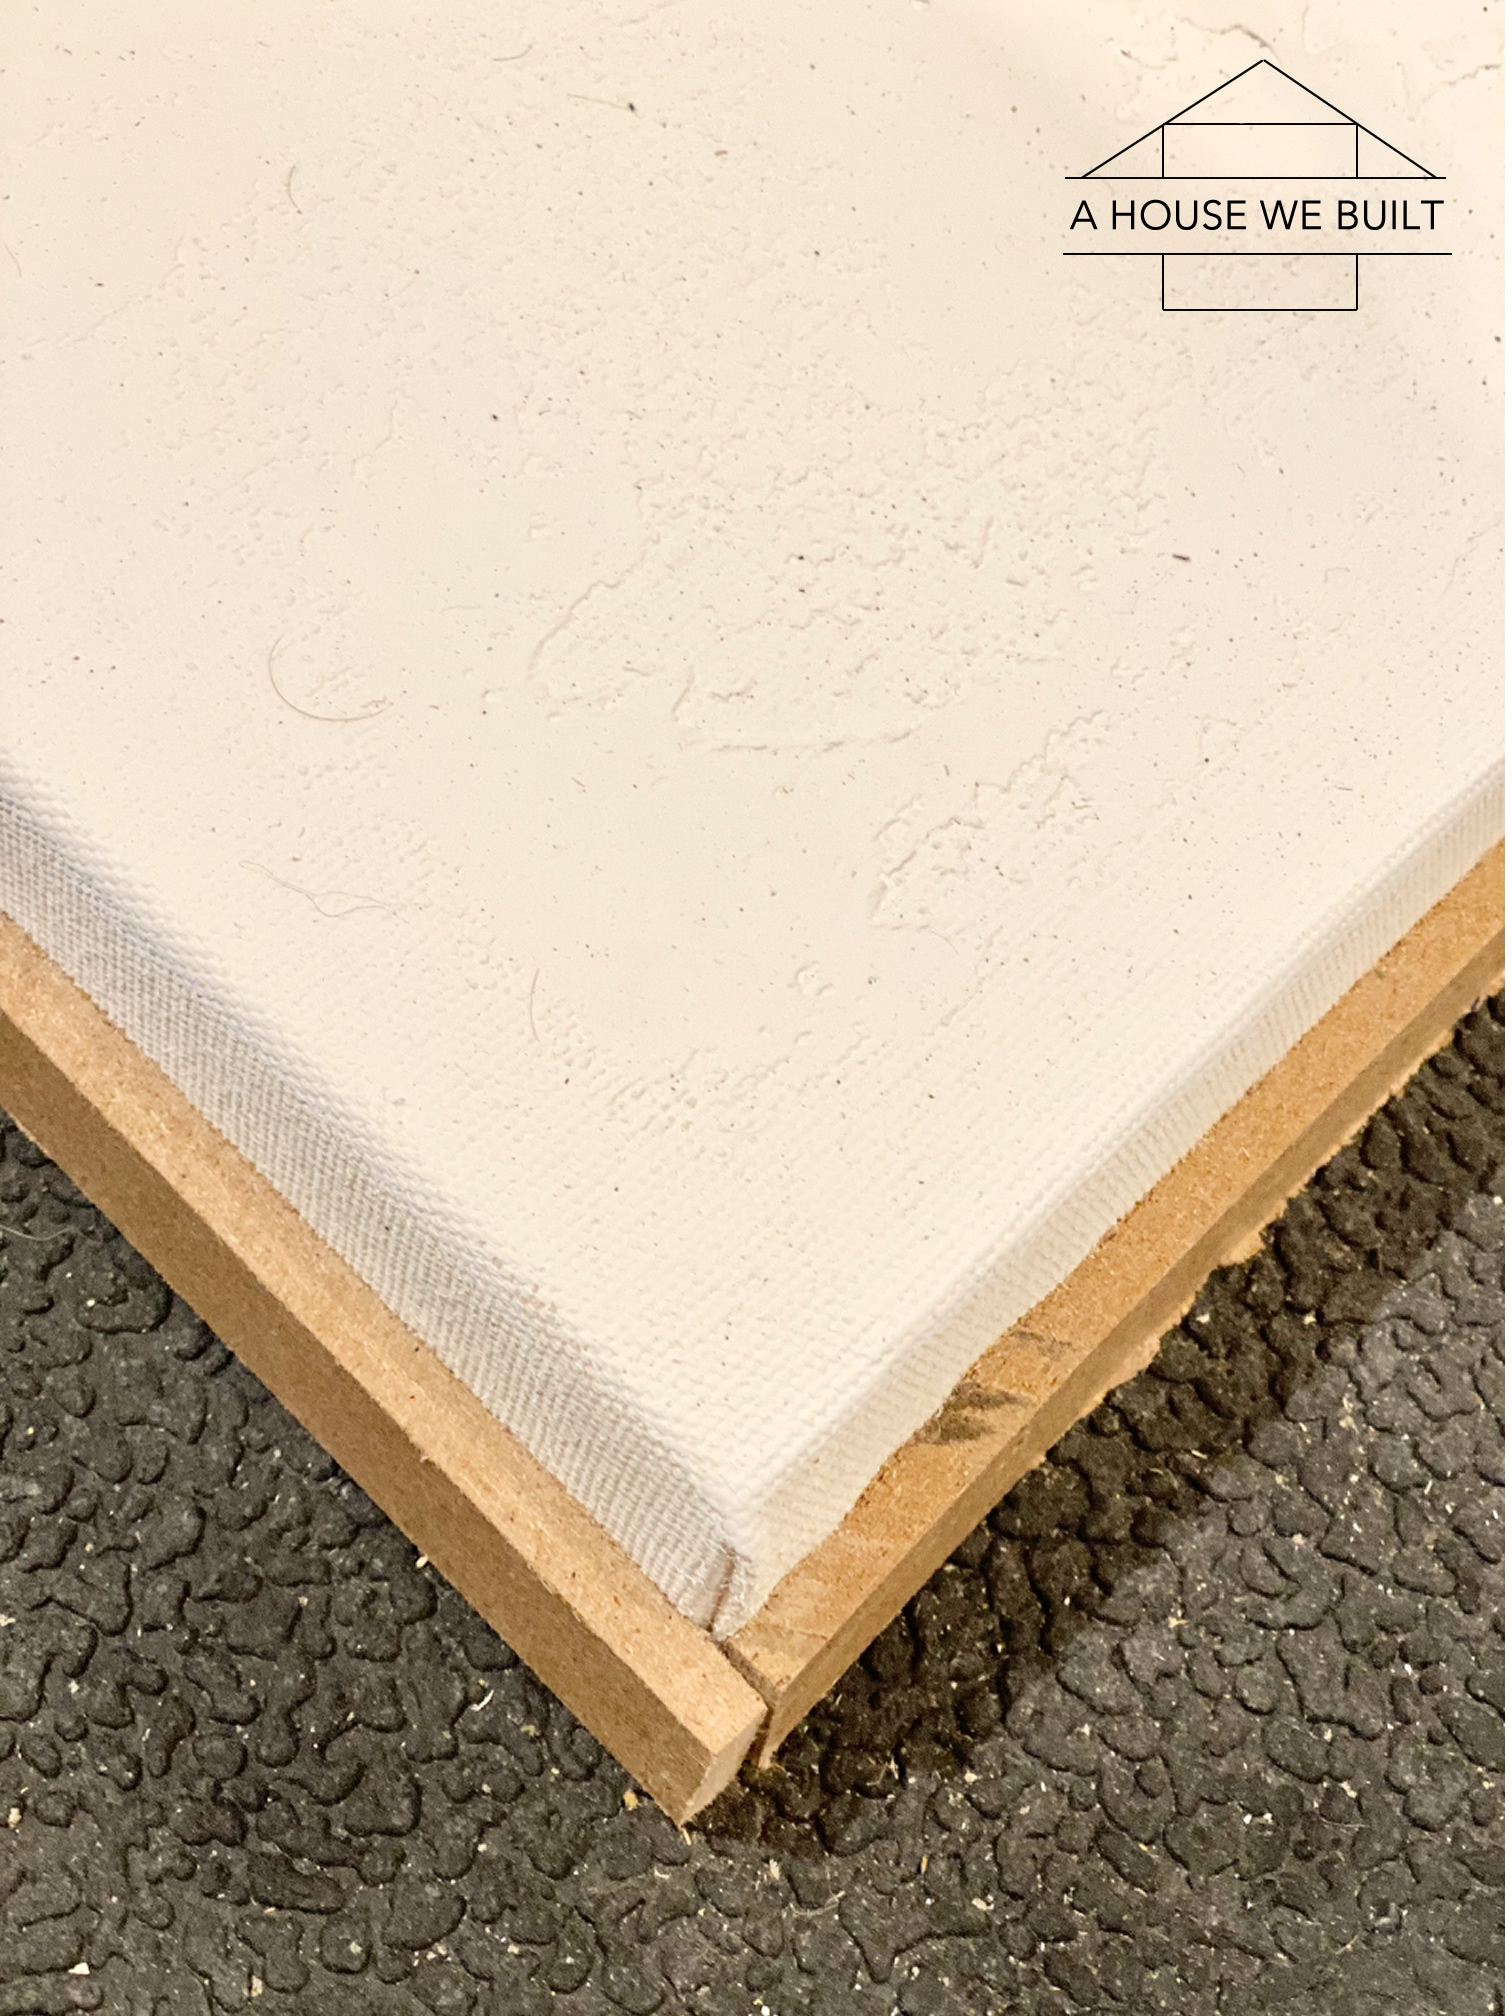
- In one case dry, seal everything past painting over it with wall paint. I used the aforementioned matte paint that I used to seal the sheet prior to applying the mud. Paint information technology past hand with a paintbrush and Carefully become over everything – similar get right into any cracks and gently get around all the texture. You want to create a seal-coat without hiding any of the more subtle texture so this takes some attention. Also pigment down the sides of the canvass too simply to really seal it all upward.
- Allow this to dry FULLY. I let mine dry for 24 hours.

STEP 3: HOW TO MAKE A FLOATING FRAME
Materials:
- i/4″ strips of whatsoever material (I ripped down MDF)
- i×2 woods (if you programme to stain information technology) or MDF (I used MDF)
- Pigment (I used BM Revere Pewter in Satin) or Stain
Tools:
- Table saw: Home Depot | Amazon (if you lot need to rip down MDF)
- Nailer: Domicile Depot (& nails)
- Wood filler
- Sandpaper
Instructions for floating frame:
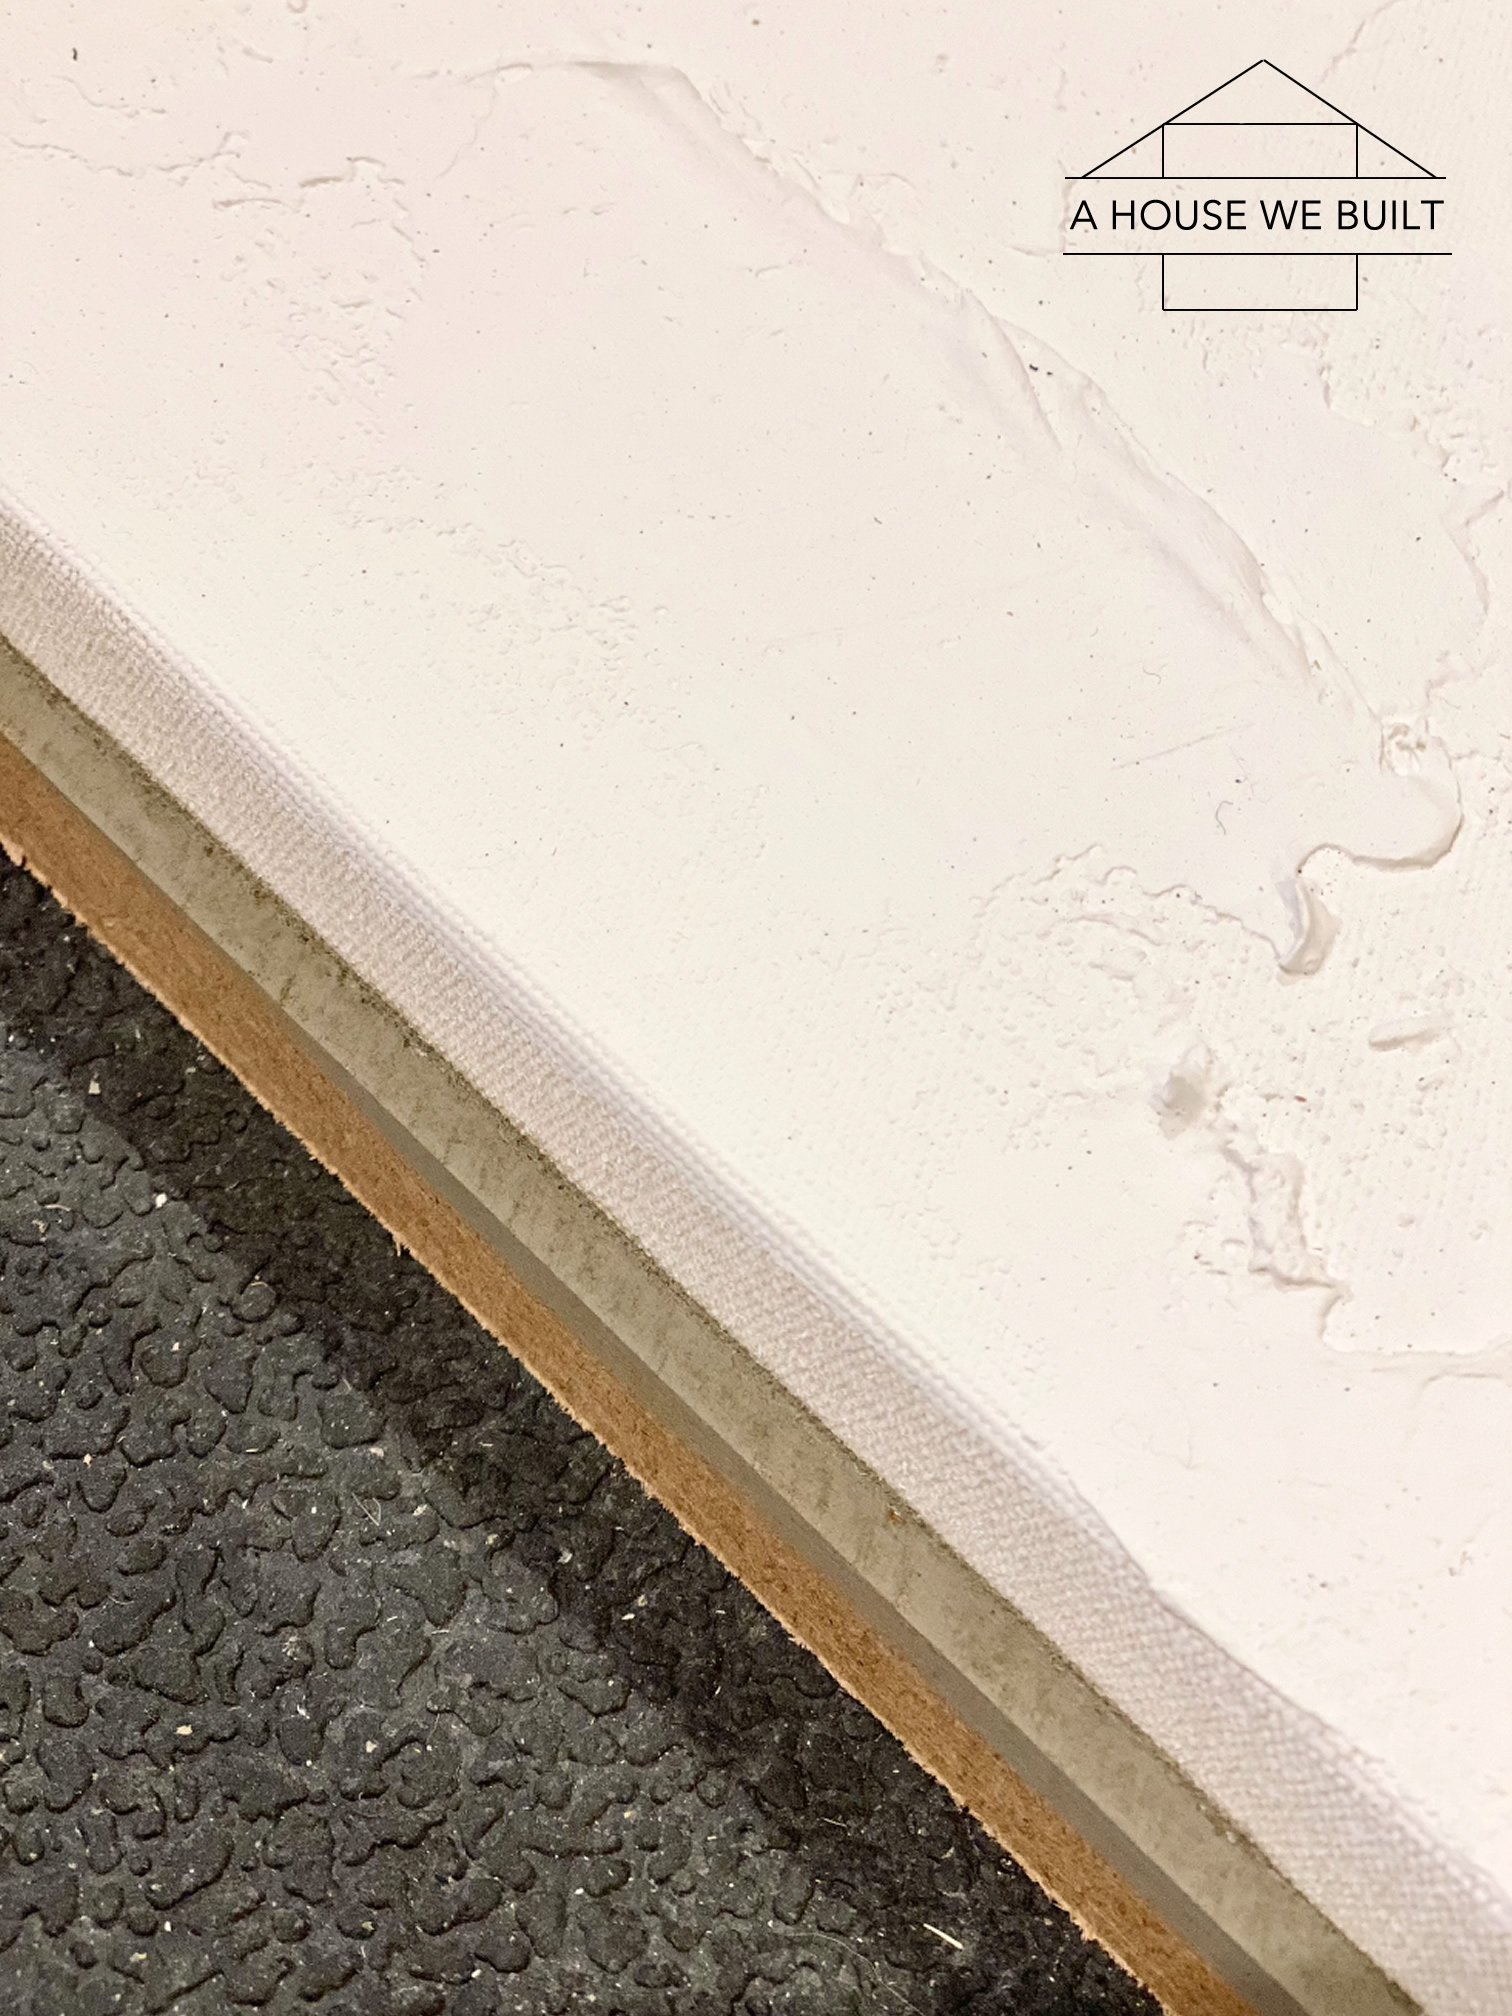
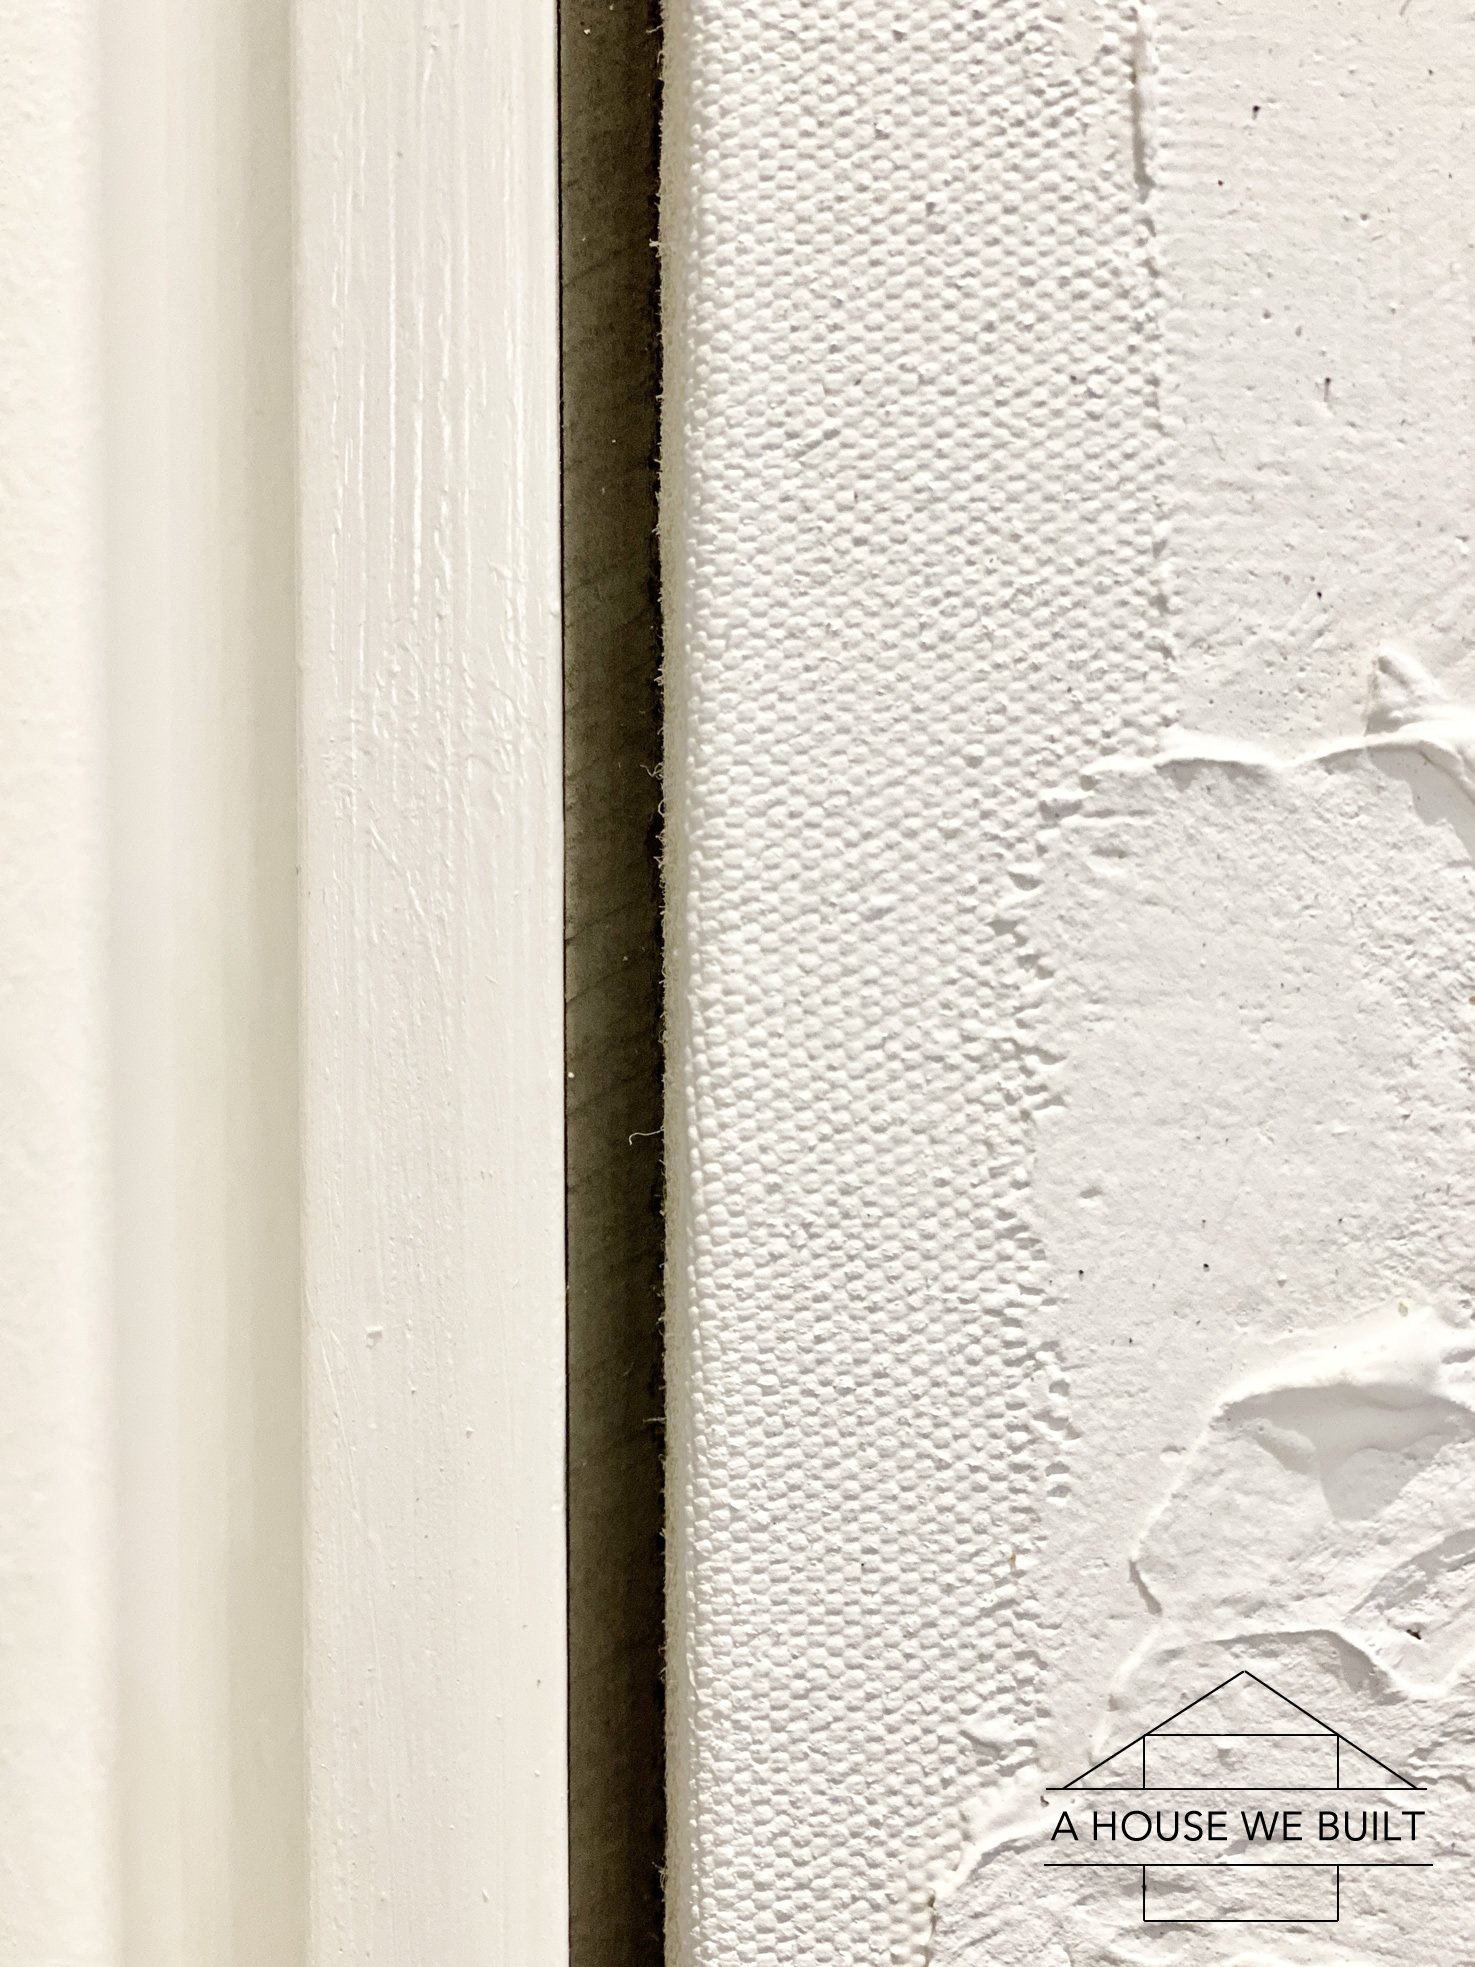
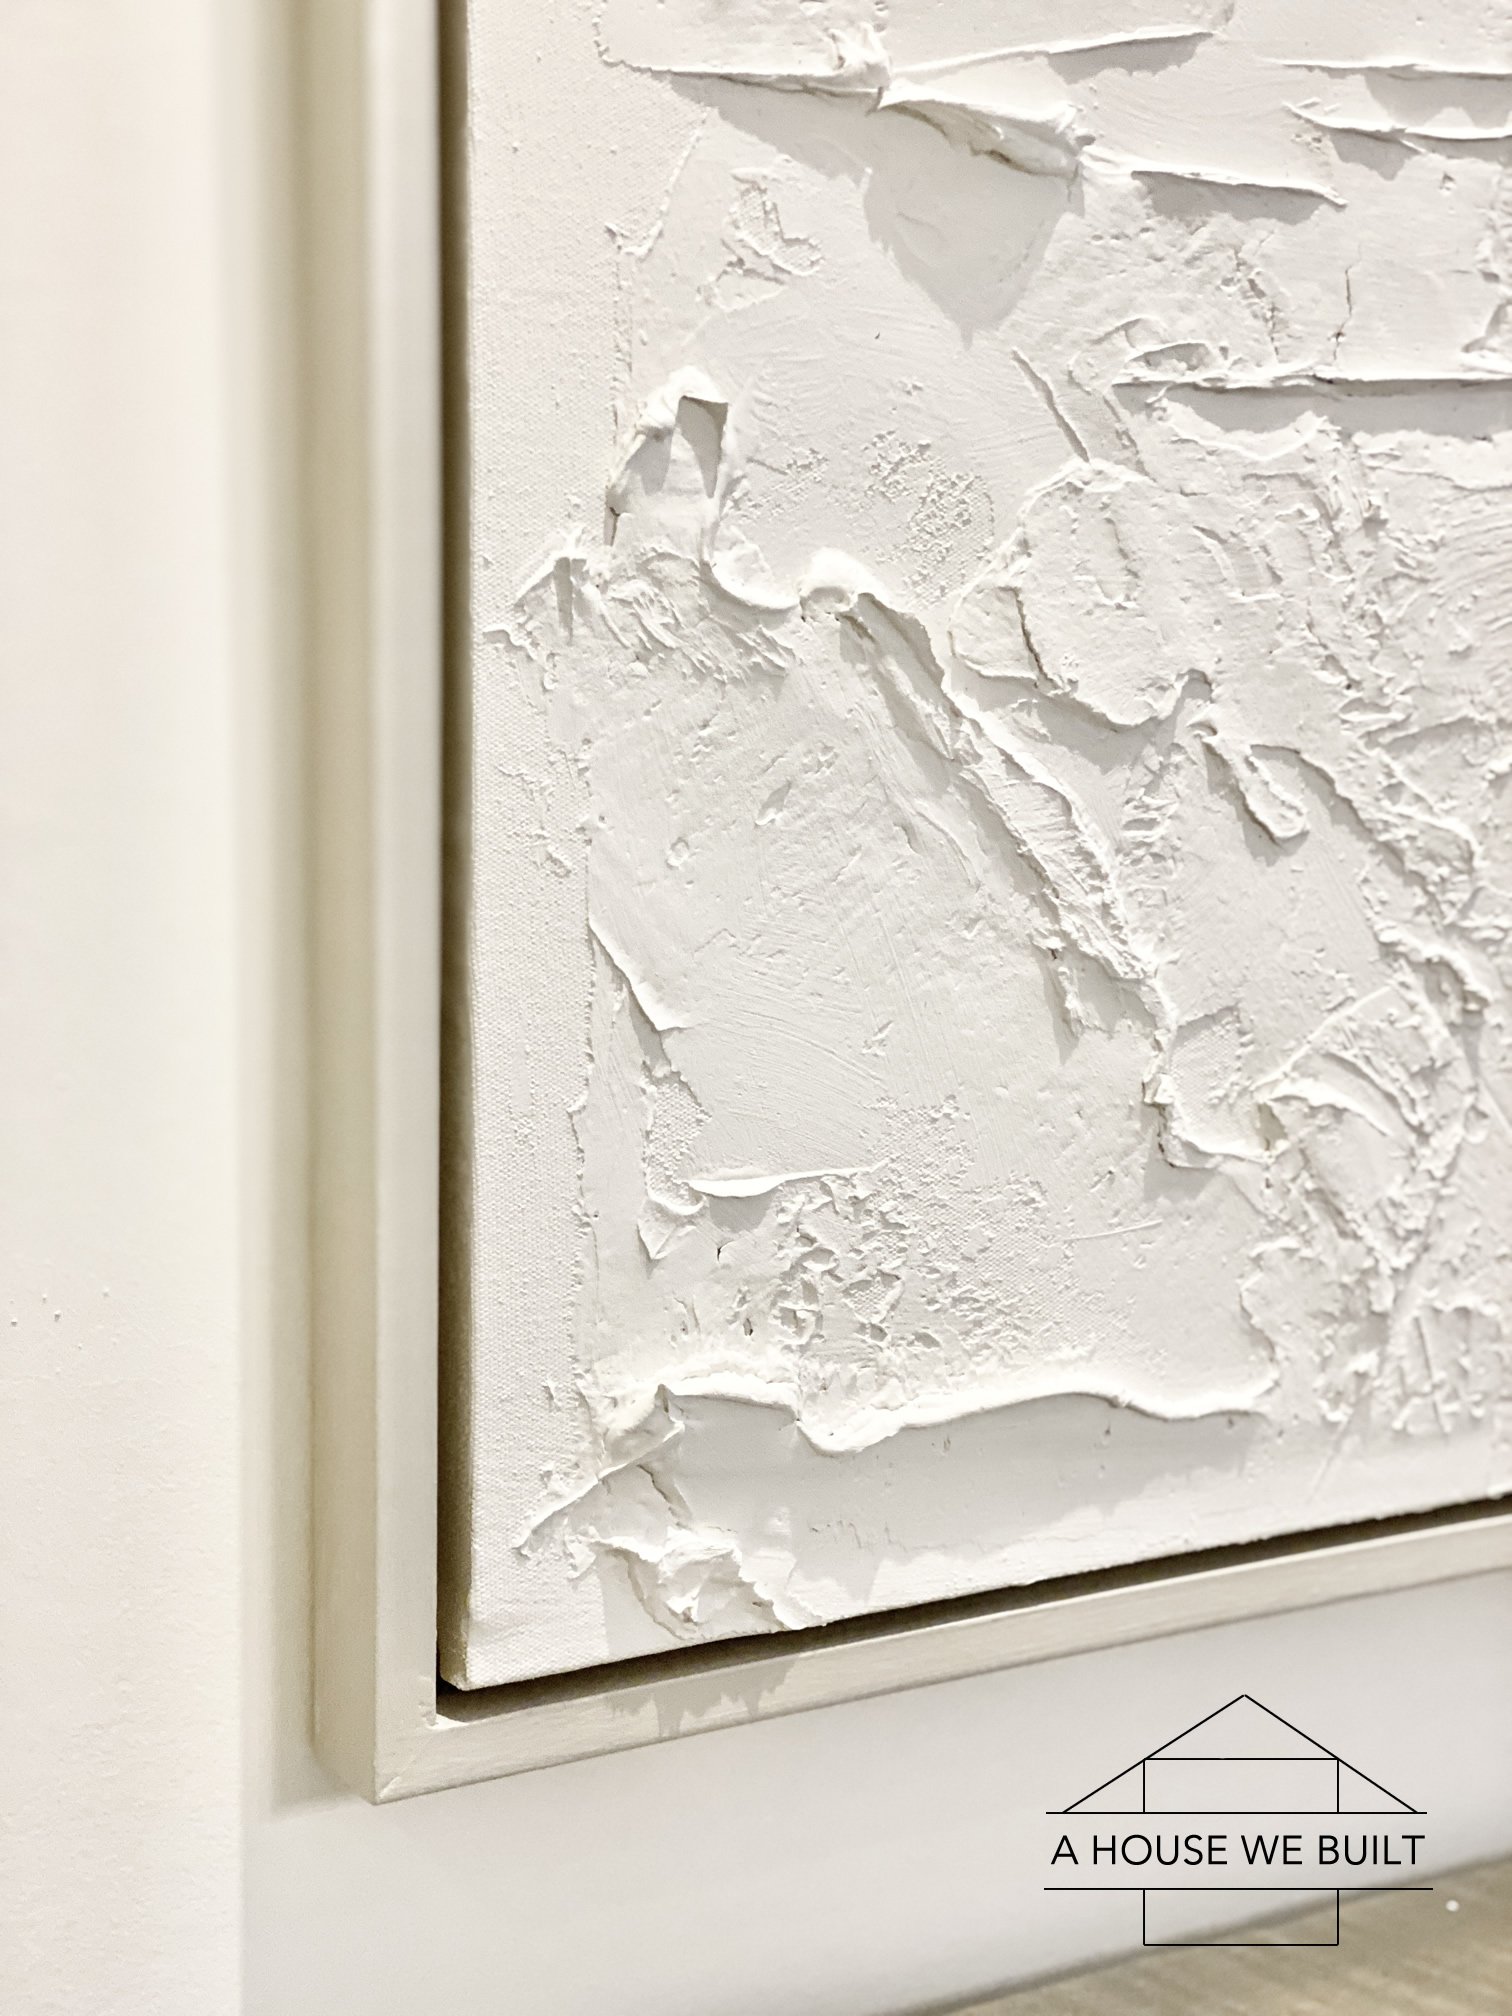
- Now, evidently this is totally optional and there are many ways to frame fine art, but if you want to create a floating frame, this is how I did mine: Essentially you need to create a gap (I did a ane/4″ gap) betwixt the canvas and the exterior frame you're going to build. My frame was fabricated from 1×two (significant information technology had a depth of i.five″ and so the way I created the gap was to only blast a strip of wood that was 1/4″ x 3/4″ between the canvas frame and the exterior frame. I created my strips by ripping down some MDF I had on paw simply plywood would work fine or I call up some hardware stores might accept something already made that could work. At that place's no rules for this, it only has to exist a shallower depth then your frame to create the gap. And it doesn't have to be perfect – the thought is that these strips won't really ever show.
- Then yous nail the strips to the sail frame. I likewise painted mine a darker greyness (black would work as well) to accentuate the shadow line merely that'south optional.
- And then measure & cut 1x2s for your last exterior frame (I mitered my corners but that's optional) and boom them into place. I and so wood-filler'ed the seams and once that was dry out, I painted information technology all gray.
That'southward it! At present your art slice is ready to hang!
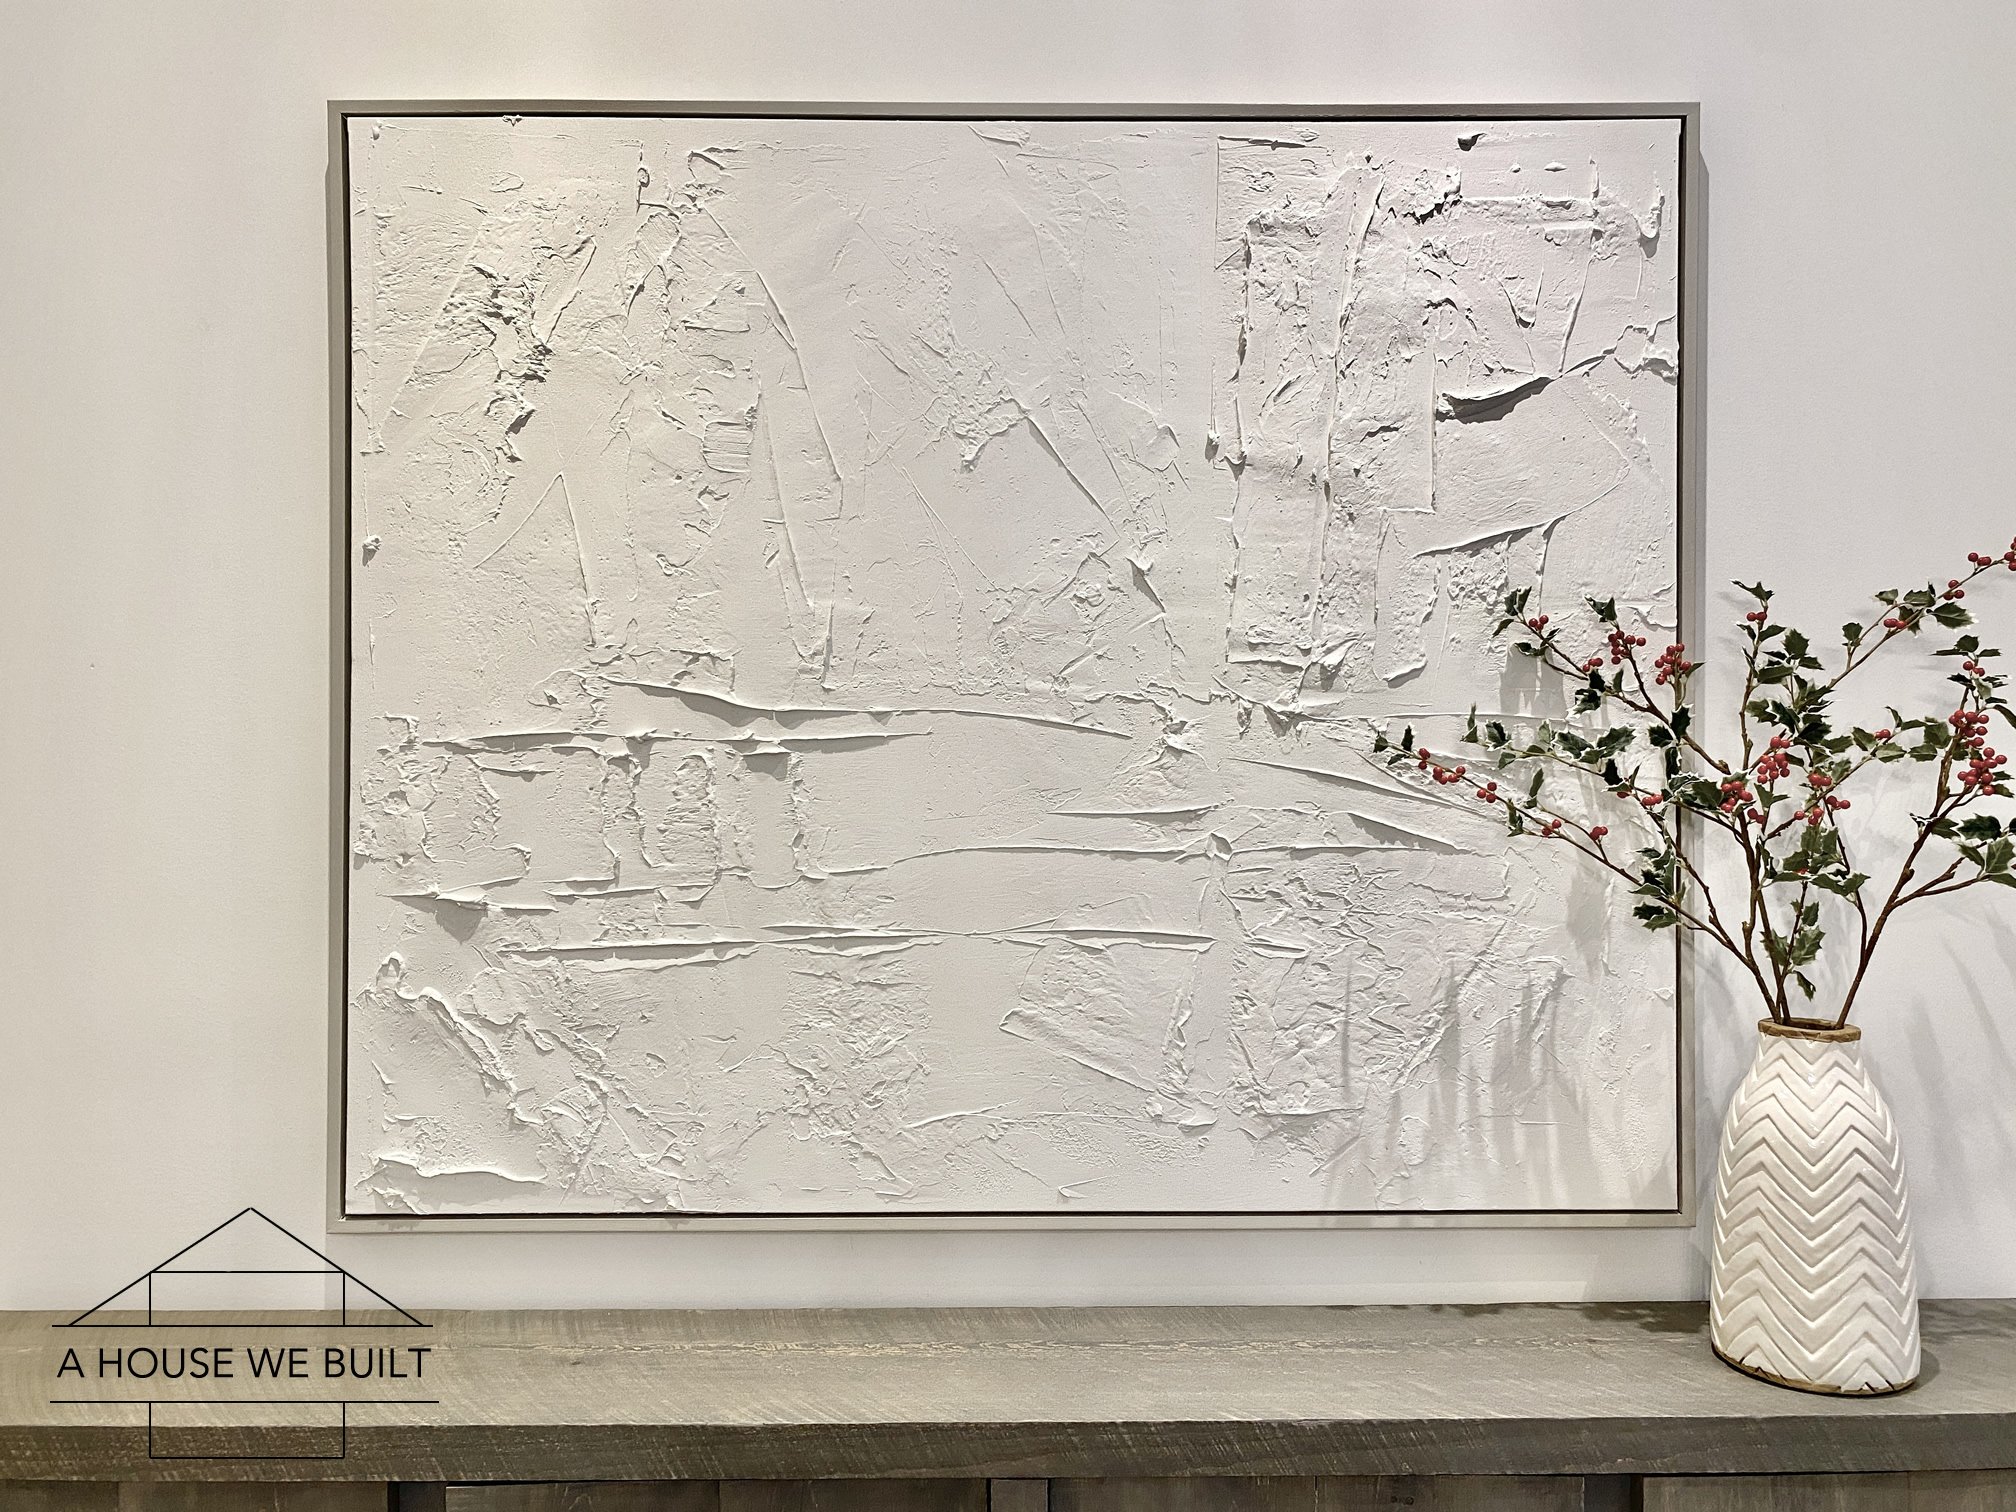
And if you lot're following united states on Instagram and familiar with the layout of our dining room and you're wondering how on earth I got those straight pics of the art piece, I was sitting on our dining table lol! Finally, if you're wondering why these pics are a little darker than my other pics, I took these at night so there's no natural lite and so for those of you request what our house looks like at nighttime, this is an example.
Like OPTIONS
If y'all're not into DIY or just not feeling particularly creative, here are similar art pieces yous can buy ready-made: McGee & Co (rectangular) | McGee & Co (square) | Crate & Barrel | Anthropologie | Pottery Barn.
Other sources from these pics:
- Chevron vase: Crate & Barrel
- Holly stems: Pottery Barn
- Sideboard: Tutorial | Similar: Wayfair | Crate & Butt
For more than sources from our Dining Room, click here.
For more than of our DIY tutorials, click hither.
To explore the other rooms in our house, click here.
Reader Interactions
Source: https://www.ahousewebuilt.com/textured-canvas-art/
0 Response to "Wall Art Canvas for a Gray Texture Painted Wall"
Post a Comment